The Hotel Chic Style Guide: Luxury, Warmth and Mouldings in your Interior
Imagine yourself in a boutique hotel, but at home. Hotel Chique is the interior trend for those who love rich materials, deep and dark colours and a luxurious look. In this style guide you will discover how to bring this warm, elegant style to your own home, including tips on how to perfectly integrate mouldings into this interior style.
What is Hotel Chique?
Hotel Chique is an interior style that combines luxury and comfort. Think velvet, gold accents, dark shades, marble and symmetry. The atmosphere is both inviting and elegant. You imagine yourself in a stylish hotel suite, every day again and then at home. Hotel Chique is mainly about experience, instead of specific elements that characterize this style. The trick is to coordinate everything in your interior, especially the details.
Features of a Hotel Chic interior
- Warm colours such as taupe, burgundy, dark blue or olive green
- Materials such as velvet, marble, brass and dark wood
- Symmetry and layering in accessories and shapes
- Soft fabrics and generous furnishings
- Luxurious accents such as mirror panels, black lines or gold lamps
How do moldings fit into a Hotel Chic interior?
Mouldings are a subtle but powerful way to add class to your Hotel Chic interior. Think of:
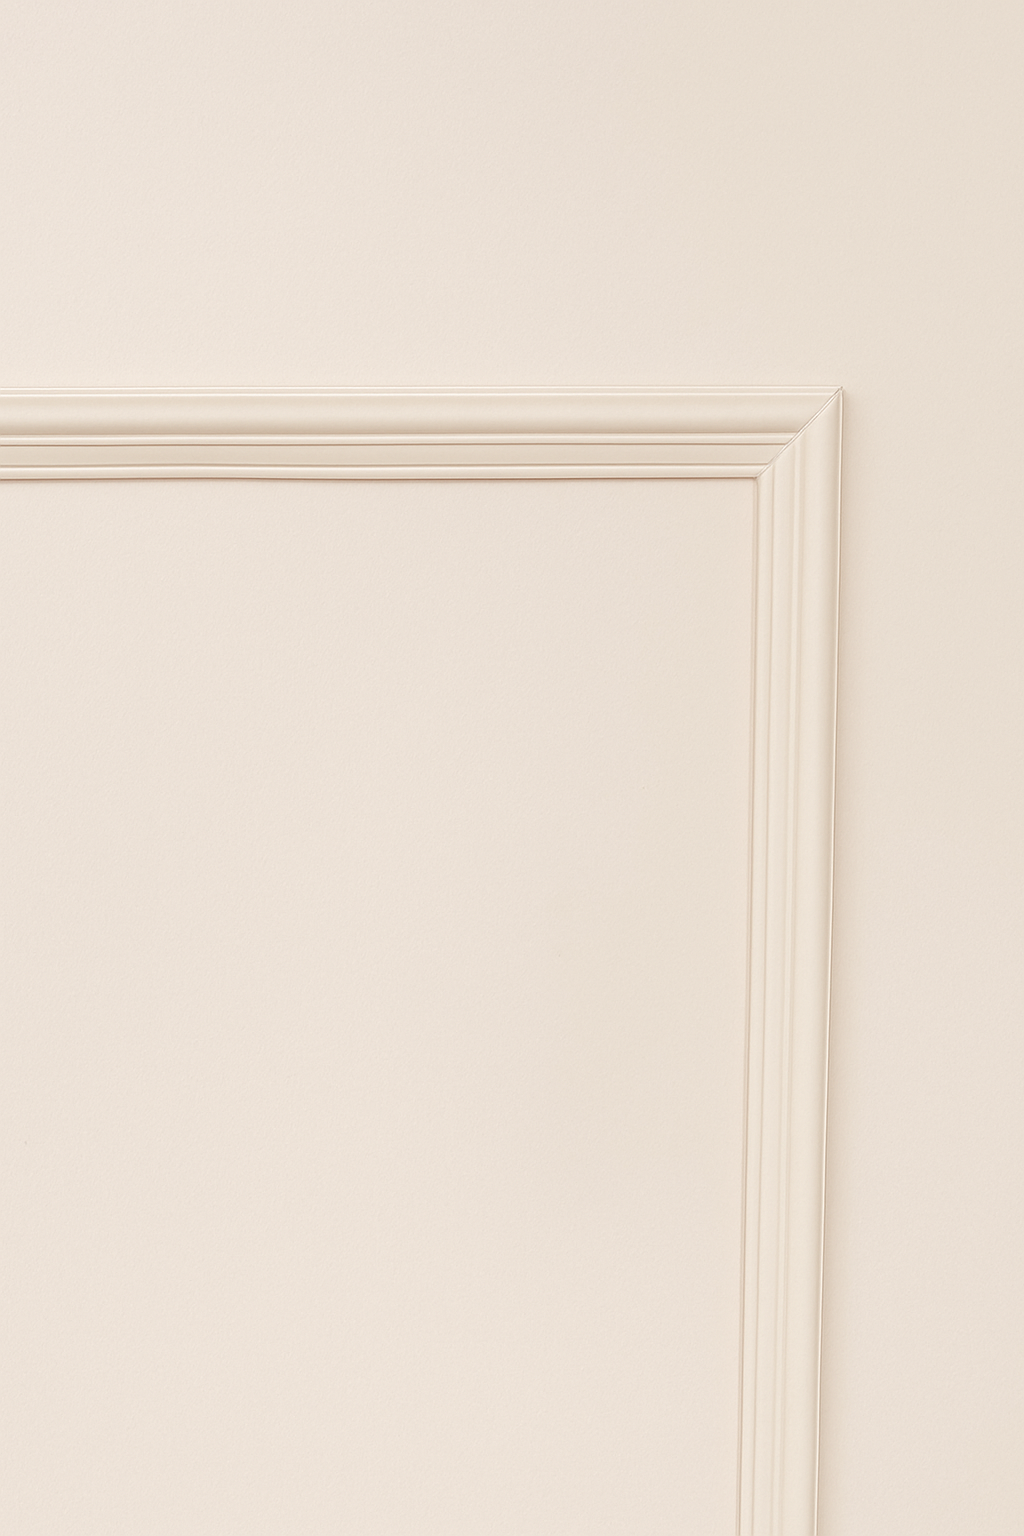
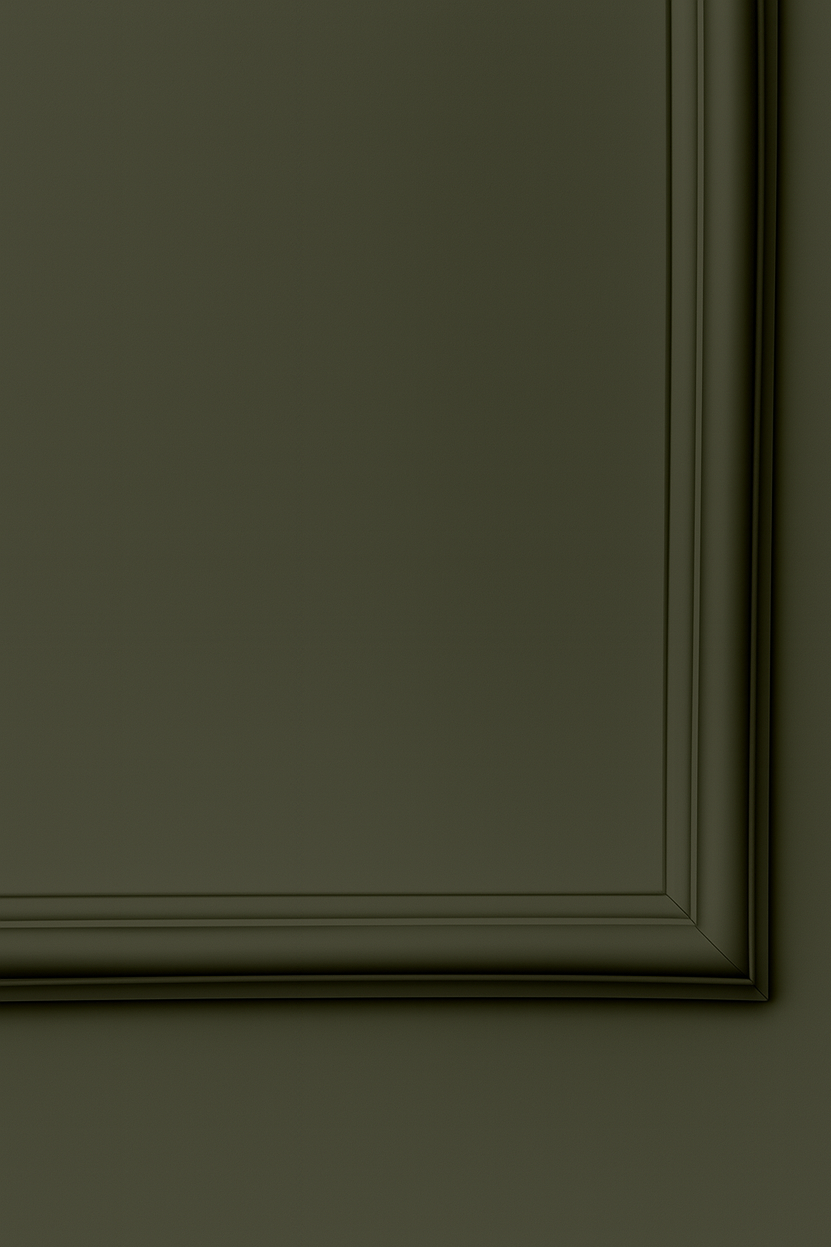
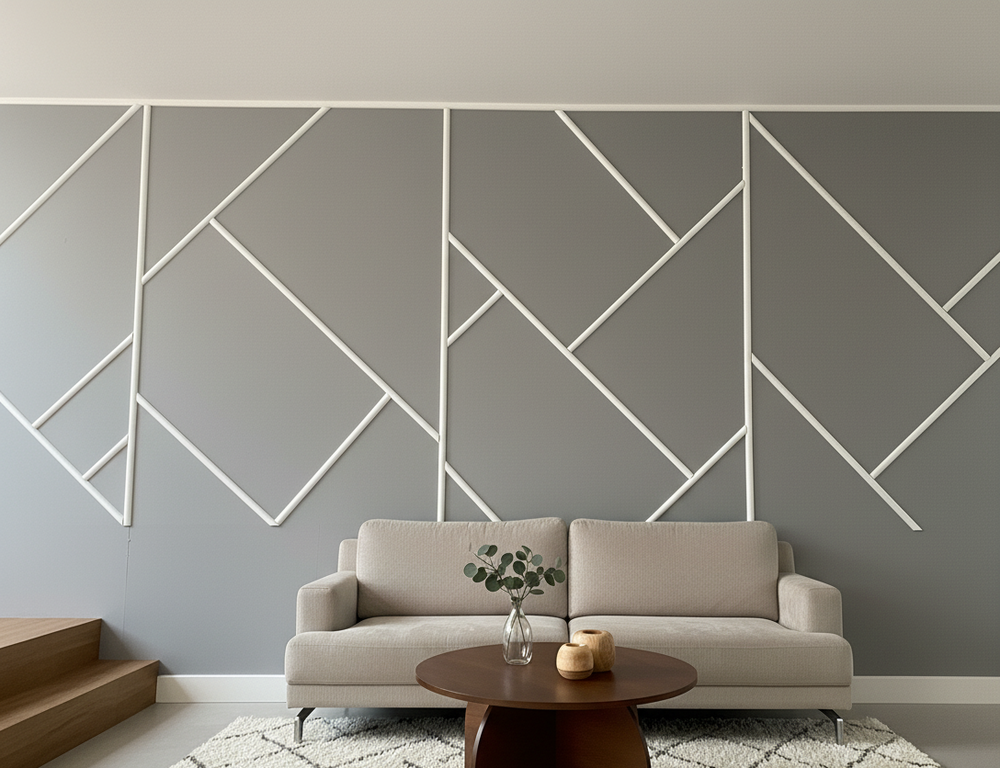
- Wall panels : large, symmetrically placed rectangles on a dark wall
- Painted over in the same colour as the wall, for a serene, luxurious look
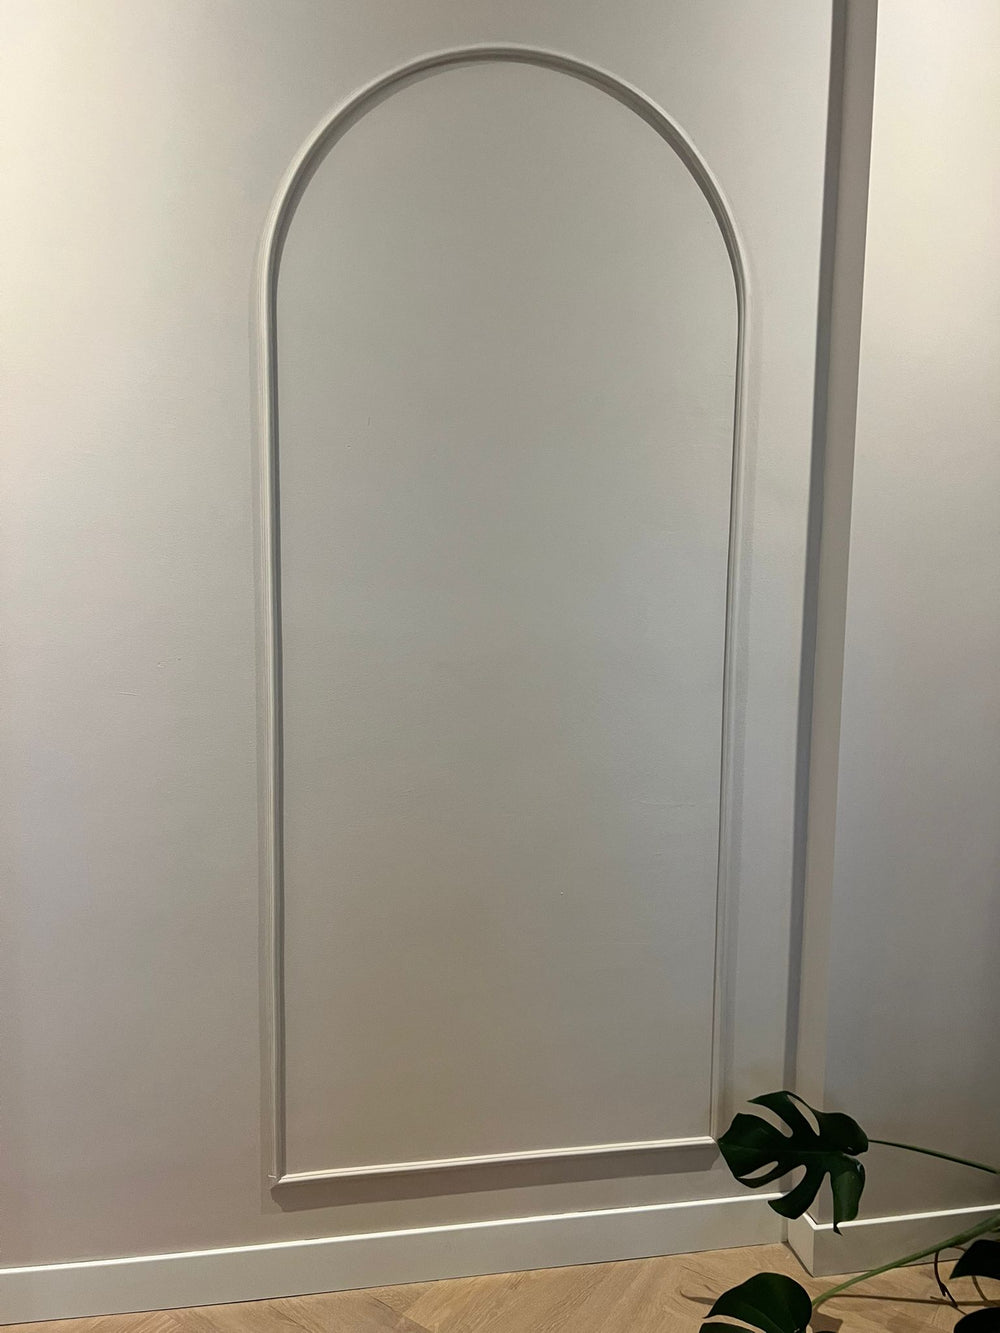
- Use behind a bed to create a sense of height and elegance
- Combination with lighting or mirrors for extra depth
With flexible self-adhesive moldings from Velida you can easily create this effect yourself, without the hassle of sawing or gluing. You cut the moldings to size yourself, simply stick them on and paint them in your style.
Tips for Hotel Chic per room
Hotel Chic in the living room
The living room is the place where comfort and luxury come together. Choose a deep wall color such as olive green, taupe or anthracite and combine with warm fabrics such as velvet or bouclé. Think of a generous sofa with rounded shapes, a rug with a subtle shine and brass accents in lighting or table decoration. Layering is key: combine cushions in different textures and use multiple light points.
Moldings can provide an architectural frame here: place large wall panels behind the sofa, painted over in the same color as the wall, for a subtle yet chic look.
Hotel Chic in the bedroom
The bedroom is all about tranquility, softness and a touch of drama. Opt for rich materials such as a velvet headboard, cotton sateen bedding and gold or black bedside lamps. Create that typical 'hotel look' with heavy floor-length curtains and symmetrically placed bedside tables with luxurious styling. Work with a colour palette of burgundy, dark green or warm beige for an intimate atmosphere.
A wall behind the bed with wall panels (made with moldings) gives structure and height to the room without dominating it.
Hotel Chic in the hallway
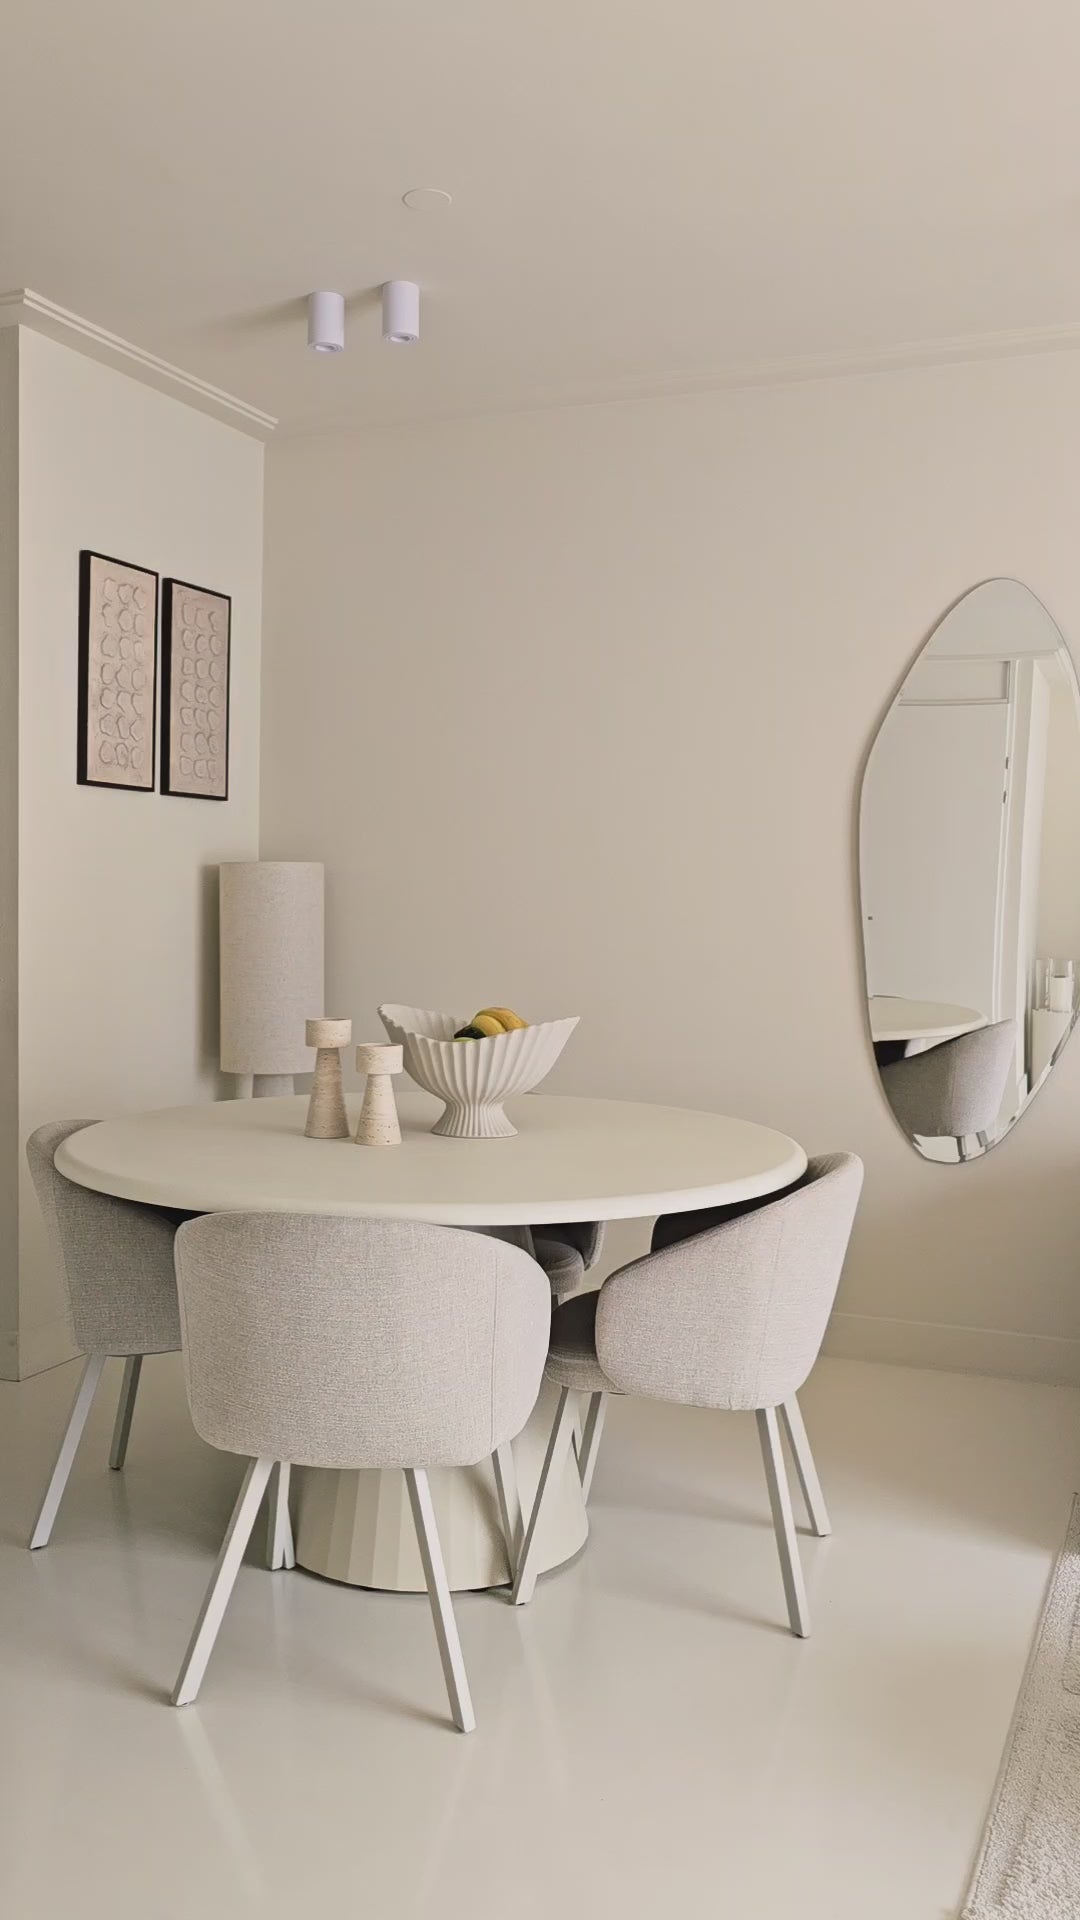
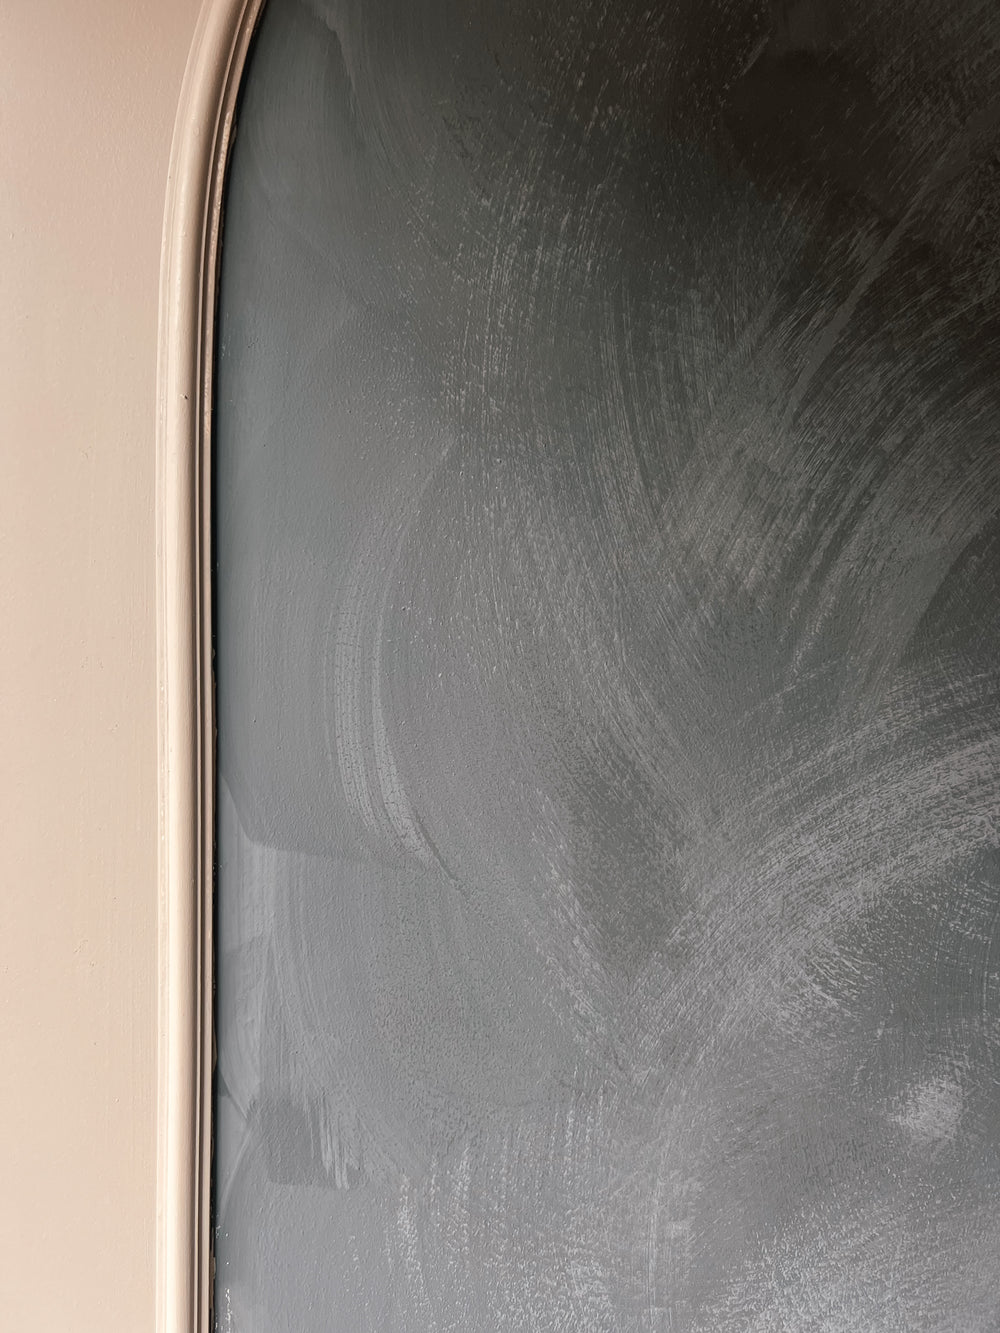
The hallway is often forgotten, but in a Hotel Chic interior it is the chance to make an impression. Choose a dark or glossy wall paint, a slim console with a marble-look top and one striking art object or scented candle. Hang a large mirror in a round or gold-coloured frame to catch the light and visually enlarge the space.
Wall panels on one side of the hallway provide rhythm and elegance, especially in combination with wall lights or recessed spotlights that make the structure stand out even more.
Inspiration: examples and visual storytelling
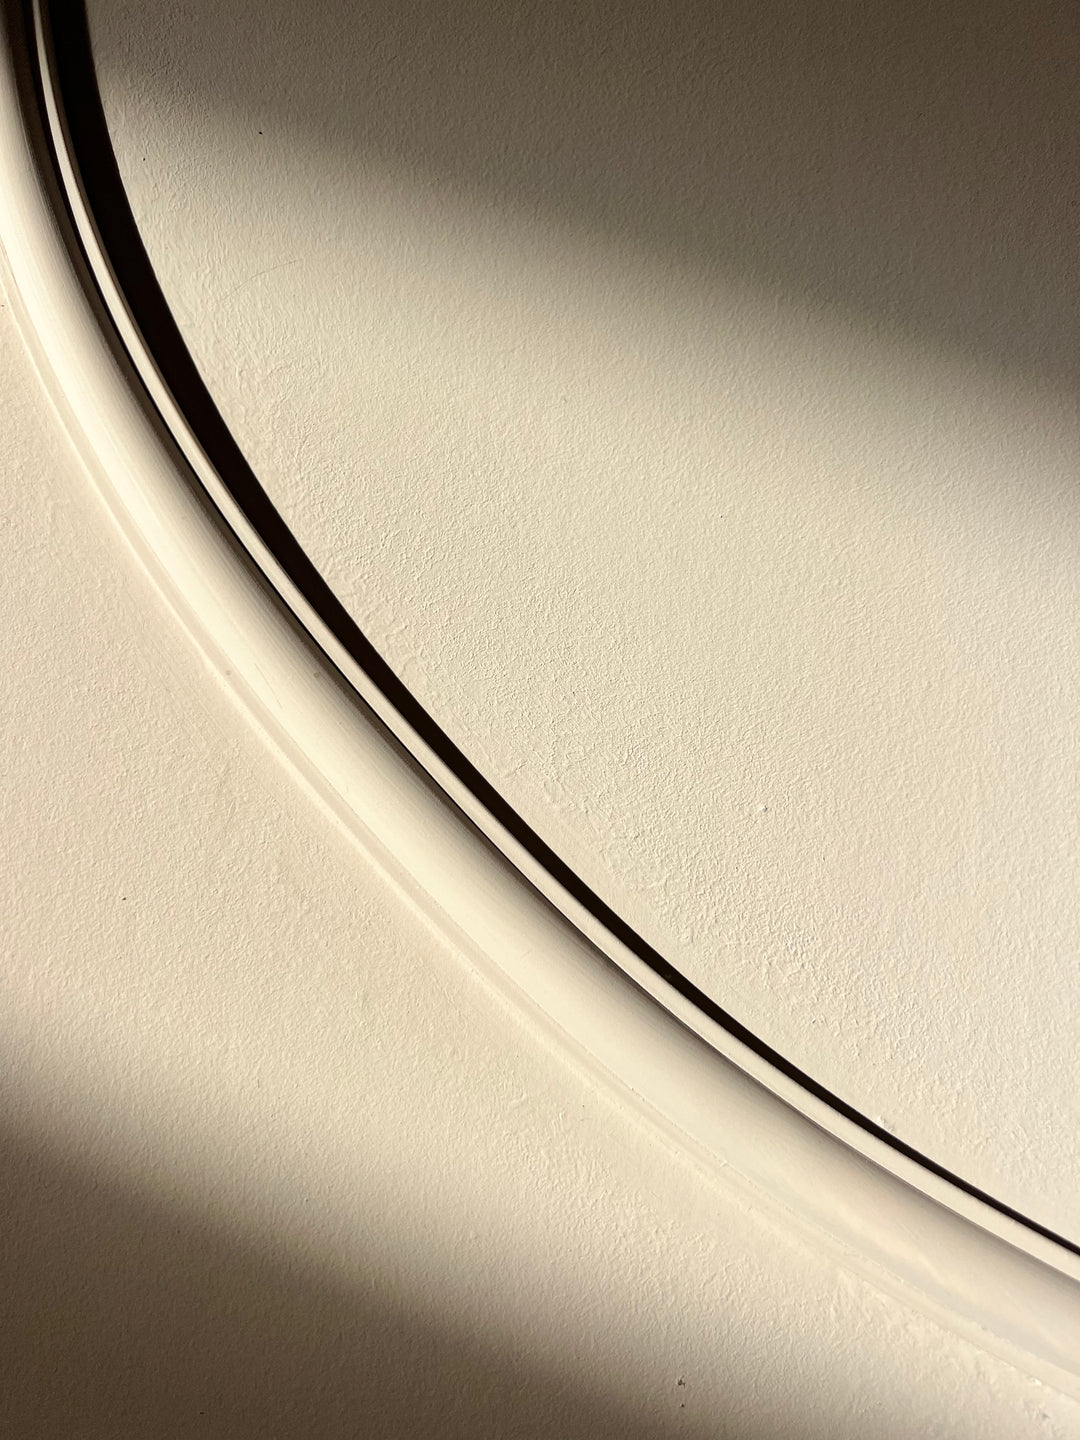
A Hotel Chic interior is not created by separate elements, but by the interplay of materials, colours and composition. Below you will find a number of mood images that show what this looks like in practice — from bedrooms with deep, enveloping colours to living rooms where symmetry and soft shine are central. Be inspired by the combinations of textures, the layering of accessories and the role that mouldings play in this as an elegant decorative detail.
[image context: Visual of a bedroom with moldings in symmetrical planes, behind the bed painted in warm dark green, combined with gold pendant lamps and velvet bedding.]
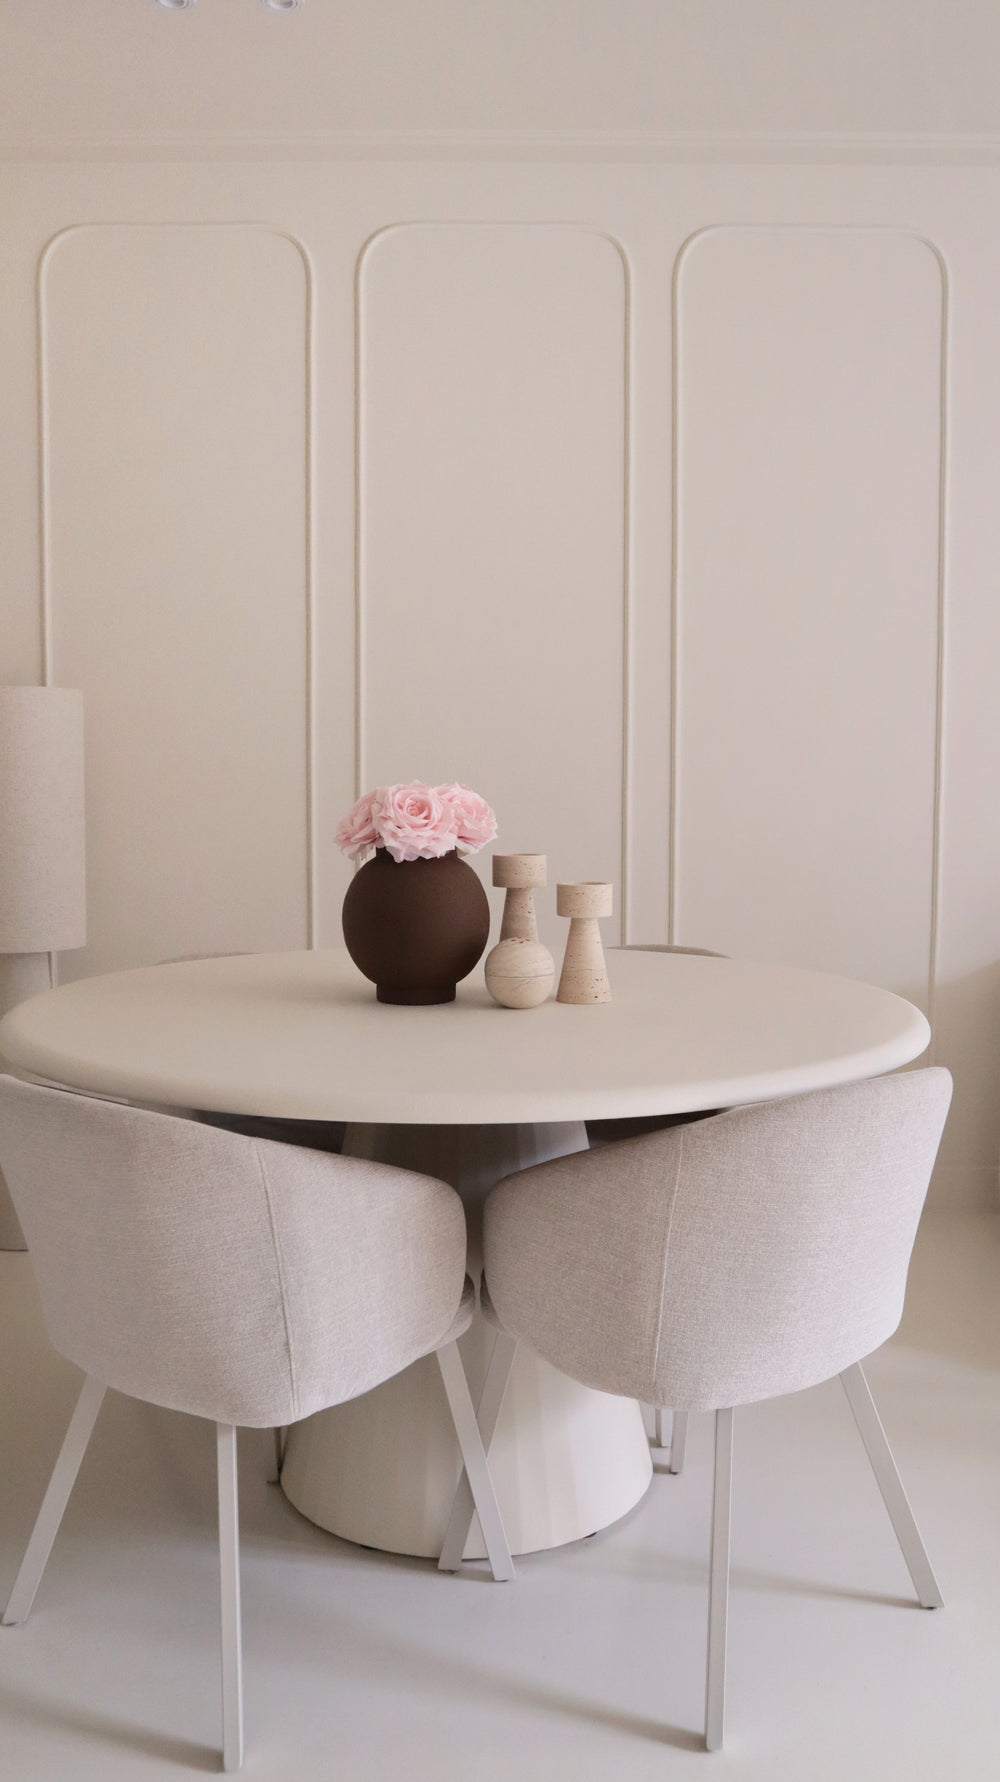
[image context: Living room corner with wall panels made of flex mouldings in the same colour as the wall, a velvet armchair and a marble coffee table, stylishly lit.]
Want to get started with moldings yourself?
Hotel Chique is all about details and moldings make the difference. You don't have to be a handyman to do it yourself. Discover how Velida's flex moldings make it easy to give your interior a luxurious look, without any hassle.