How do I create a molding design with AI?

Want to add molding to your wall, but don't know where to start? Thanks to AI, you can easily create a visual impression of your wall with molding and immediately calculate how many meters you'll need. This guide explains it step by step.

Determine the desired style, shape and location

Before you start, it's helpful to have a general idea of what you want:

  • Straight frames or arches?
  • How many frames or arches?
  • On which wall(s) do I want moldings?

Do you have a rough idea of what you're looking for? Then choose a profile that suits your style. Velida currently offers four models:

  • Nova – sleek and modern
  • Luna – subtle and Japandi
  • Classic – graceful and classic
  • Crown – symmetrical and timeless

Tip: for a Japandi interior we recommend Luna, and for a classic atmosphere we recommend Classic.

Time to get started

Take a photo of the wall where you plan to apply the molding. Make sure there's good daylight and take the photo straight on. Remove any distracting elements like plants or furniture.

Sketch your design

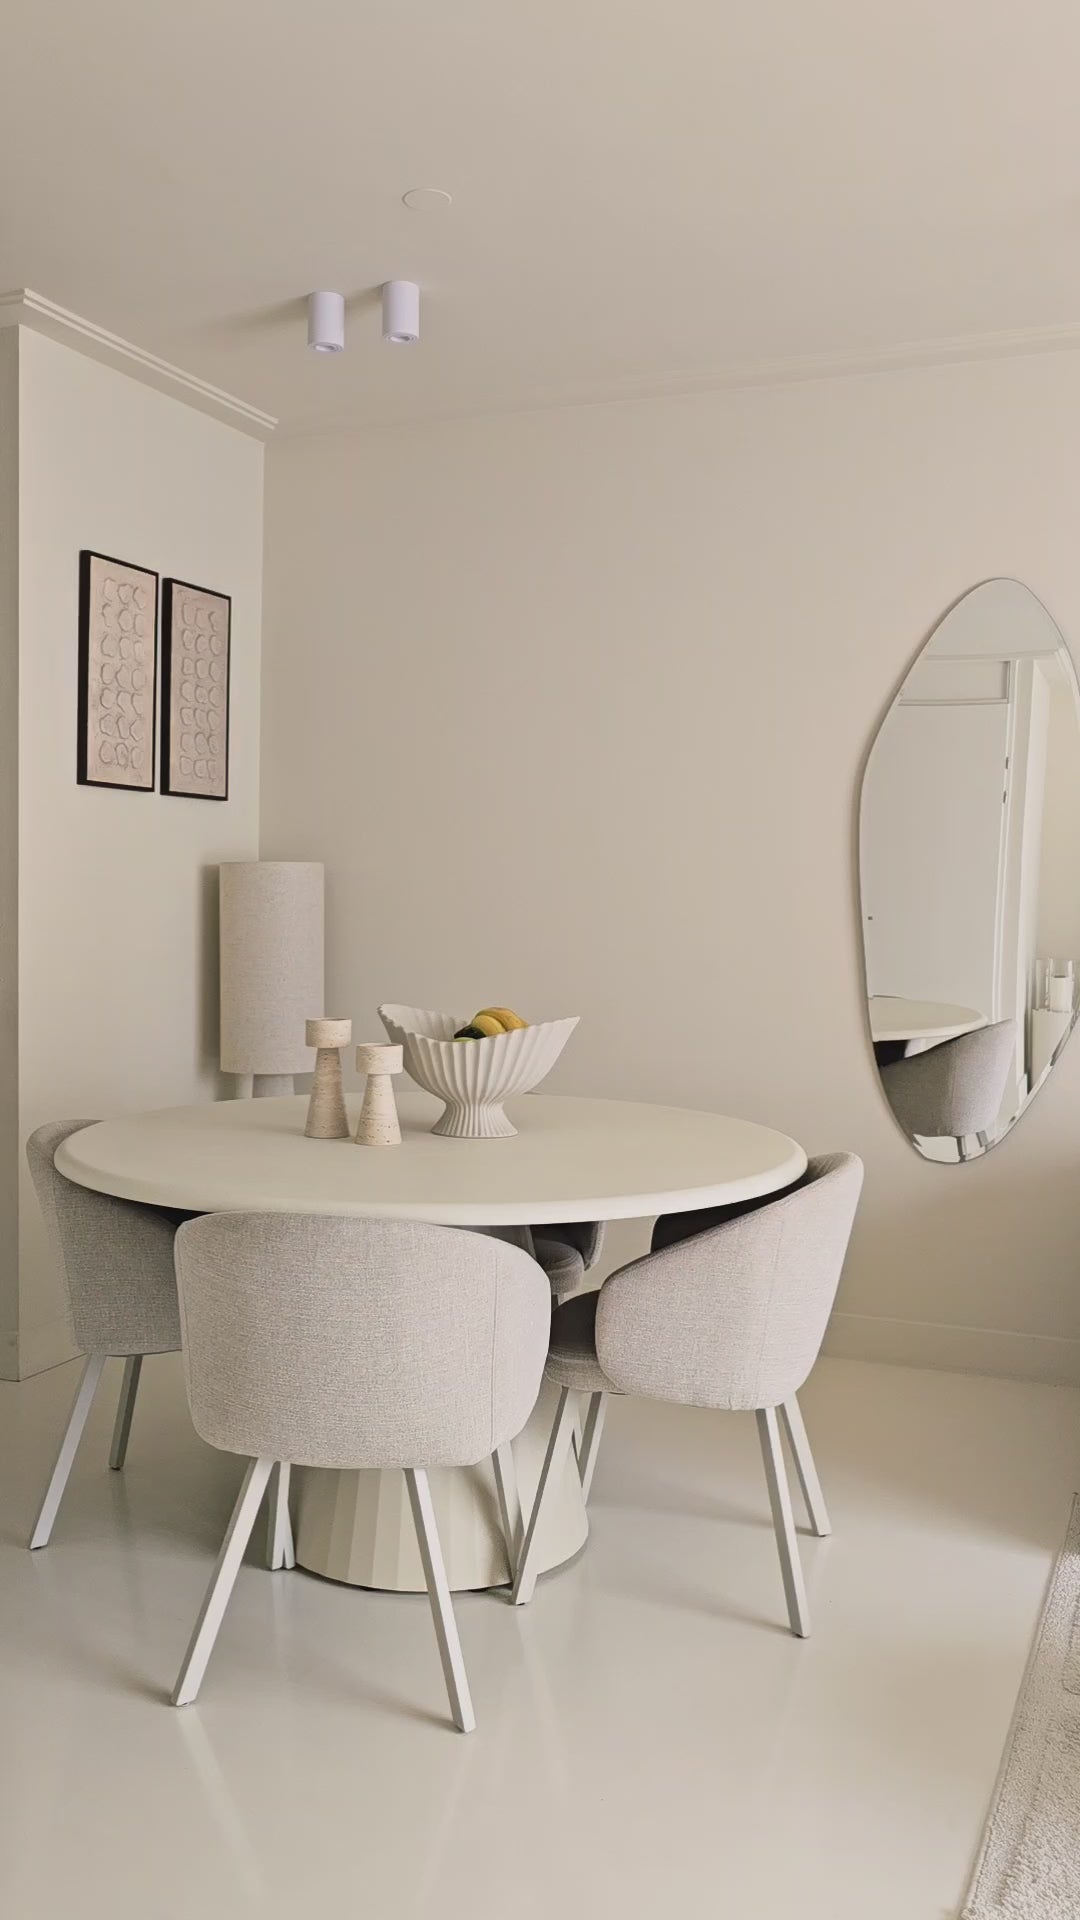
Upload the photo into a photo editing program (such as Paint, Canva, or the photo app on your phone) and mark with a red line where you want the moldings to appear.

For example:

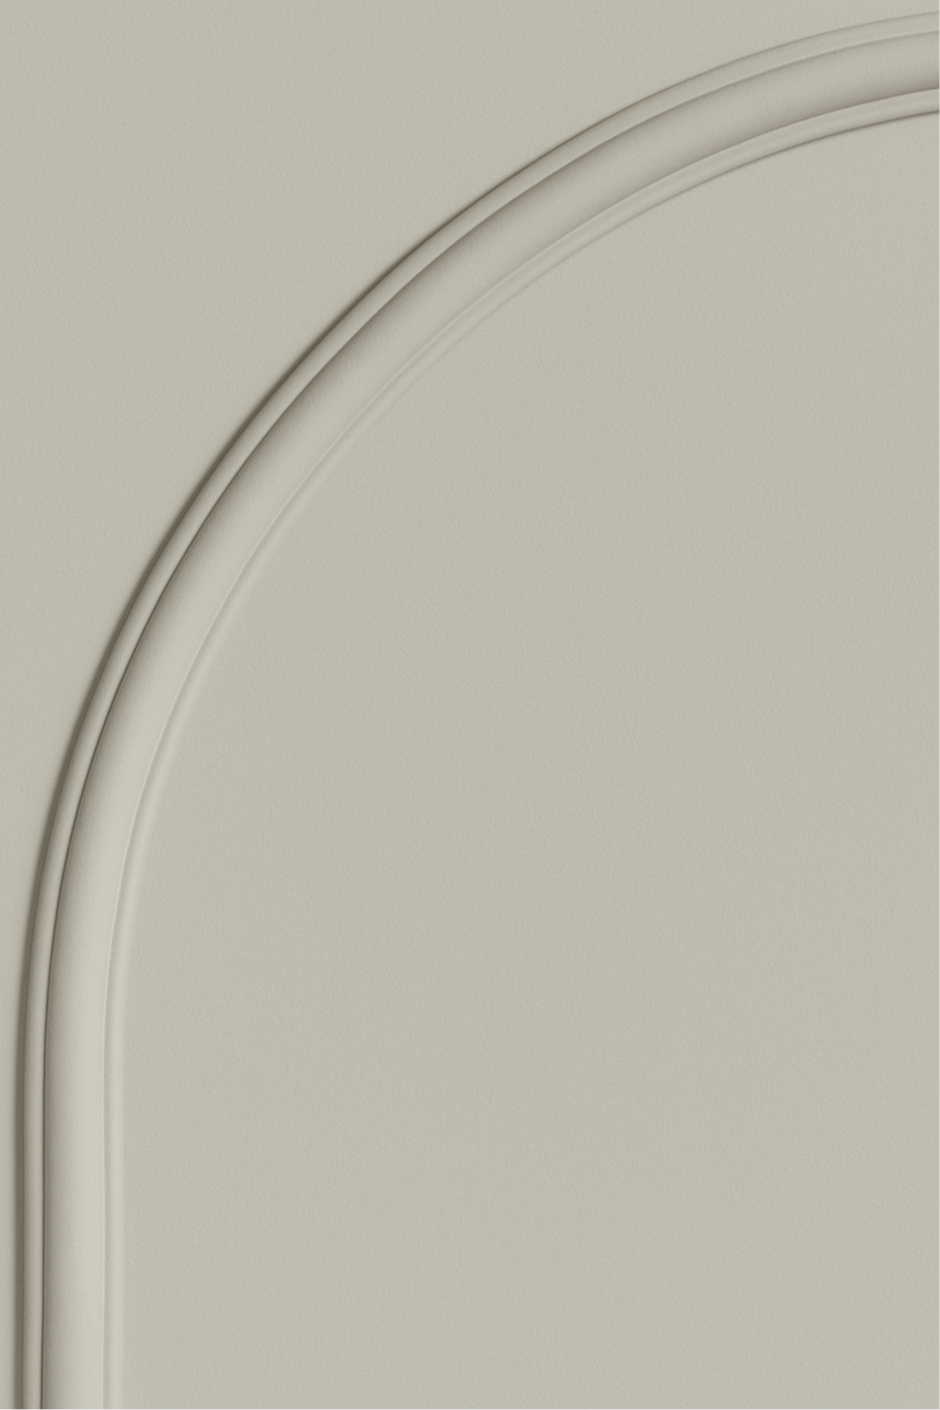
Test image for a molding design using AI

Visualize with AI

Once you've finished the photo with red lines, you can generate an impression via ChatGPT.

Upload your image and use this prompt:

I'd like to visualize the moldings in this interior. Swap the red lines in this image for moldings to give me an idea of what moldings look like in this interior.

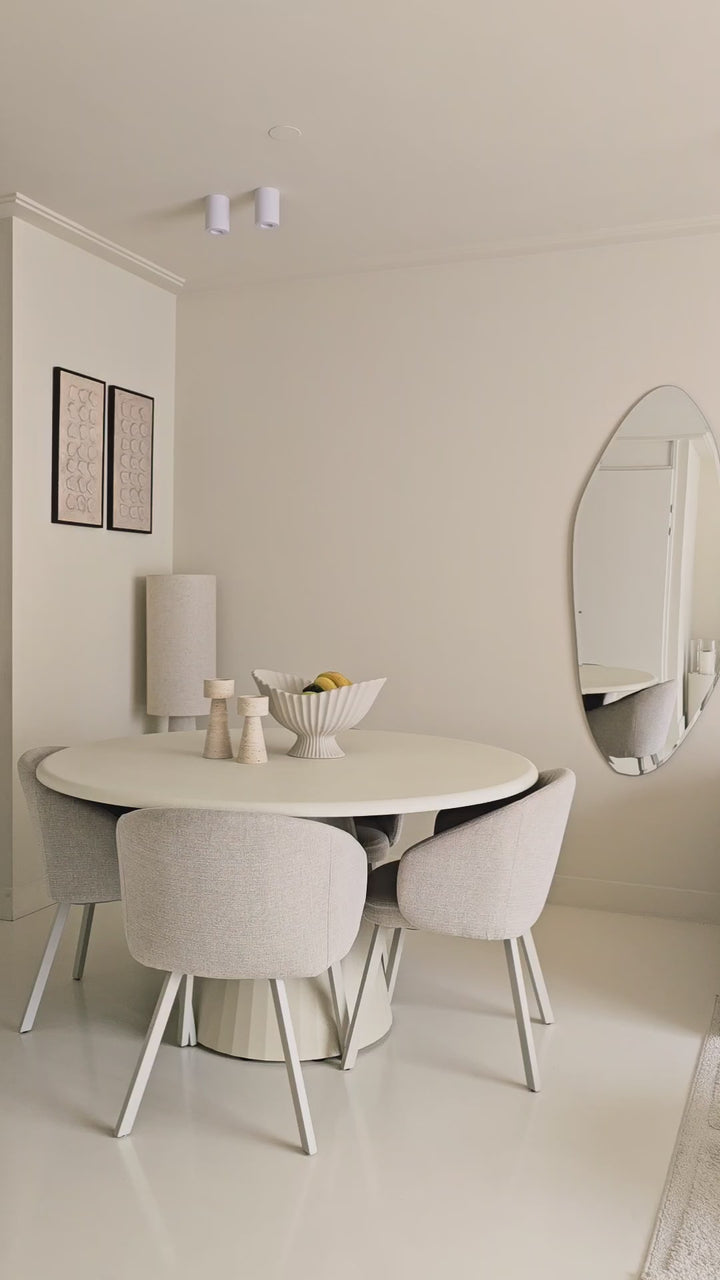
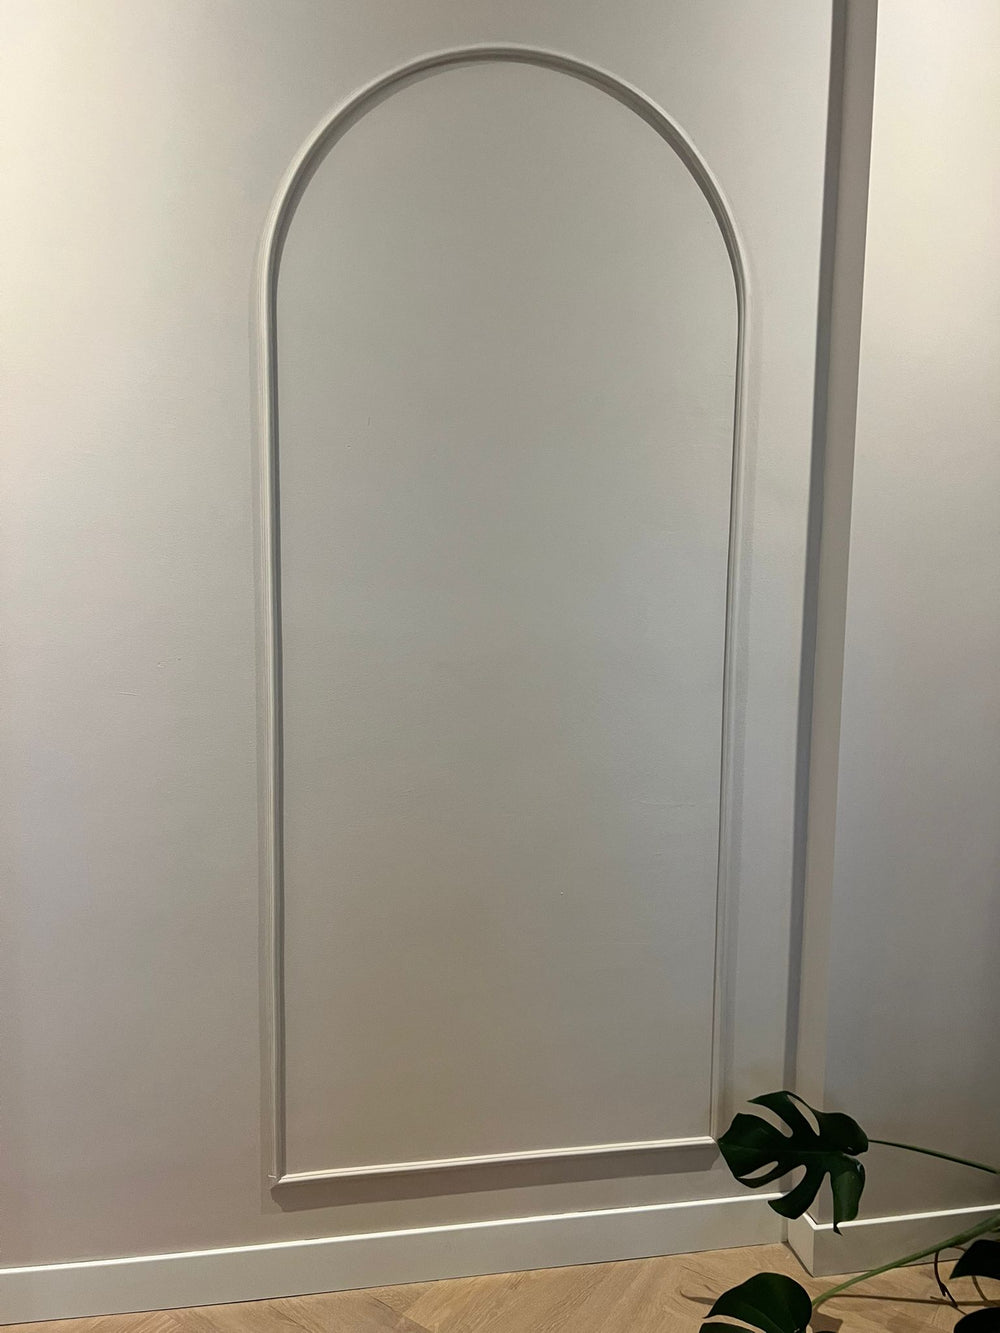
This will then produce an image. Our example shows the following:

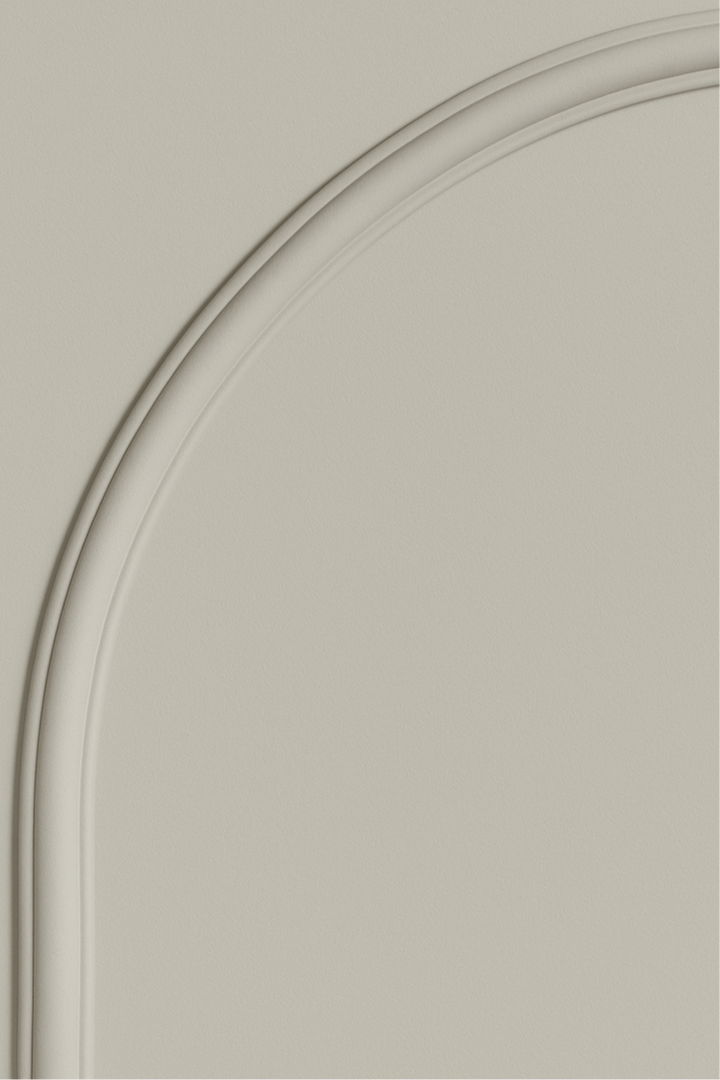
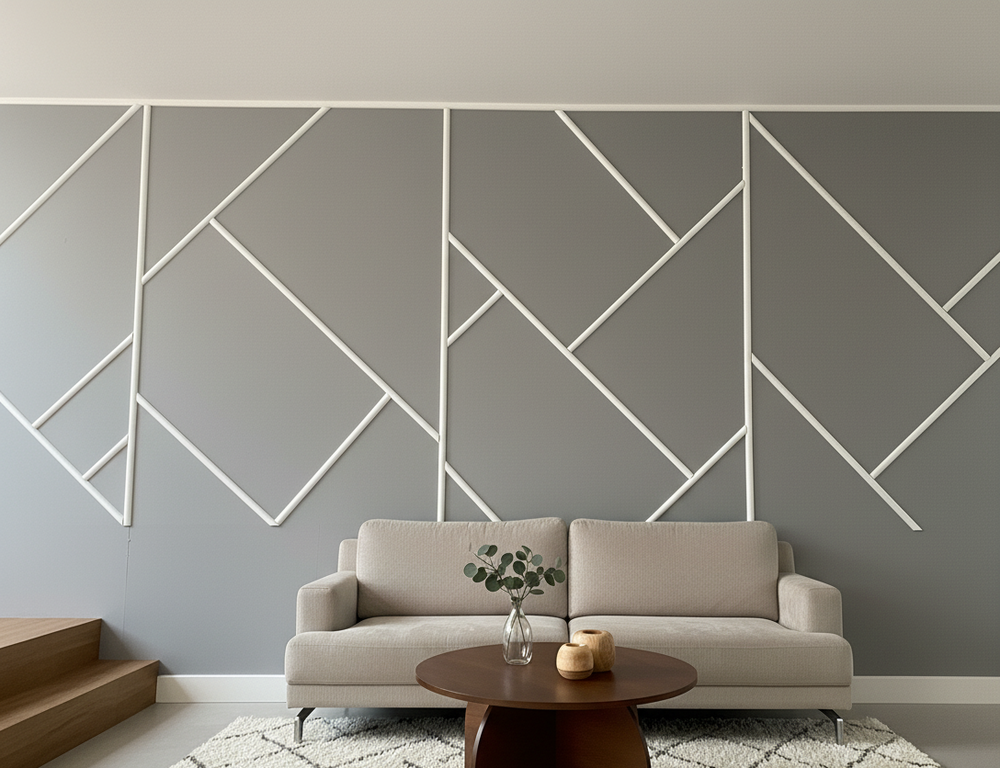
Final result AI design

The AI then generates a sample image. Note:

  • The result is not 100% accurate
  • The profile or details may differ
  • Still, you get a quick and realistic impression

Satisfied? Measuring is knowing

Now that you have a good idea of how moldings will look in your interior, it's time to choose a profile that suits you and calculate the exact dimensions of your design to determine how many meters of moldings you need.

Fortunately, we have written an extensive manual for this on this page:
How many meters of molding do I need?

Don't forget to allow a small margin for cutting loss (about 10%).

Order your moldings

Now that you have a good idea of how the design will look in your interior and know how many meters you need, you can order your moldings. All Velida Flex moldings are:

  • 6 meters per roll
  • Self-adhesive
  • Can be cut to size
  • Can be painted over

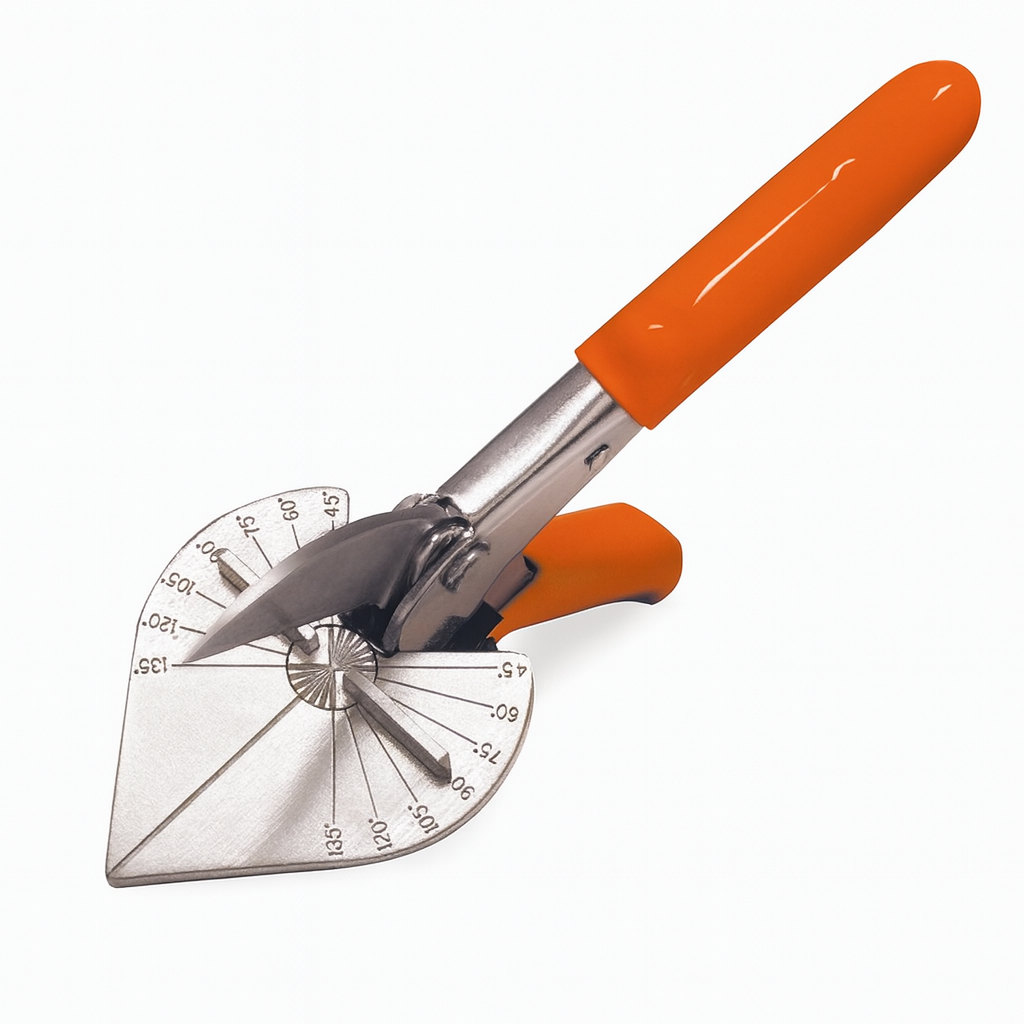
You can see how many rolls you need for each product. You can also add accessories like skirting board scissors or masking tape.

FAQ: Velida Flex frames & installation

Not difficult at all. Thanks to Velida's self-adhesive Flex frames, you can get started without experience, glue or tools. You only have to mark where the Flex frames should go, cut to size and stick. We do advise to paint the Flex frames for the best effect.

Want to know exactly how the installation works? Read our installation manual here.

This depends on which design you would like to apply.

To help you get started, we've written a guide on how to easily determine how much length you need.

Yes. The frames are equipped with a high-quality adhesive strip that ensures long-term adhesion, even on smooth plastered walls or renovation fleece. Make sure that the surface is free of grease and dust.

Once you have pressed the molding firmly and the shape has become final, we do not recommend pulling it off again. The adhesive strip is very strong and ensures long-lasting adhesion, but can leave marks on painted walls when removed.

Absolutely. All Velida Flex frames can be painted over with wall paint. This way you can fully integrate them into your interior colour or create a beautiful accent wall with a tone-on-tone effect.

During application you can still carefully correct the Flex frames. We recommend that you first lightly draw the line with a pencil, so that you can follow the molding straight and tight.

For the best result, it is best to do this together: one person holds the Flex frames under tension, the other presses it precisely against the marked line.

Once you have pressed the molding firmly and the shape has become final, we do not recommend pulling it off again. The adhesive strip is strong and ensures long-lasting adhesion, but can leave marks on painted walls when removed.

Our tip: Take your time when marking and applying. That way you will make sure it will be installed correctly and you can enjoy the end result for years to come.

Yes, that is precisely the strength of the Velida Flex frames. Thanks to the flexible material, you can effortlessly apply round shapes and arch decorations without sawing.

Velida Flex frames are basically designed as a sustainable interior upgrade. But do you still want to remove them? You can, as long as you do this carefully and in a controlled manner.

Important: Always pull the moldings off slowly in sections. Start at one side and pull gradually, without jerking. This prevents damage to the wall or paint layer.

With firmly pressed frames (especially after a long period of time), the adhesive strip may adhere so well that paint may come off when removed, especially on vulnerable surfaces such as thin layers of paint or untreated renovation fleece.

Our tip: If necessary, warm the molding slightly with a hair dryer (lukewarm) before loosening it. This makes the glue a little more flexible and reduces the chance of damage.

Do you want to be 100% sure of damage-free removal in the future? Then first test on an inconspicuous piece of wall or choose to mount on well-painted, smooth surfaces.

Yes, the material is moisture-resistant and bends without breaking. However, the surface must be dry and flat during application.

Why Velida?

Self-adhesive & flexible

Our mouldings (or Flex frames) are flexible, 6 metres long and have a strong adhesive strip. You can easily attach them to smooth walls, concrete, painted walls and wood¹.

Affordable design

At Velida you do not pay for complicated installations of semi-finished products or (unnecessarily) expensive materials.

You get high-quality Flexlists with a luxurious look, for a fair price.

Easy installation

Flexlists are super easy to attach. The material is sturdy but easy to cut with skirting board scissors.

Mark out, cut to size and install.

All you need is a bubble level, miter shears and/or a set square for straight lines and well-fitting corners.

Velida recommends painting the Flexlists after installation for the best effect.

Please note ¹ : for optimal adhesion of the Flexlijsten it is important that the surface is clean, dry and free of grease. Our mouldings adhere to smooth walls, painted surfaces, wood, tiles and wallpaper.

Not suitable for rough or porous surfaces such as brick or plaster without a finish.