
The Classic & Timeless Style Guide
In this Classic & Timeless style guide:
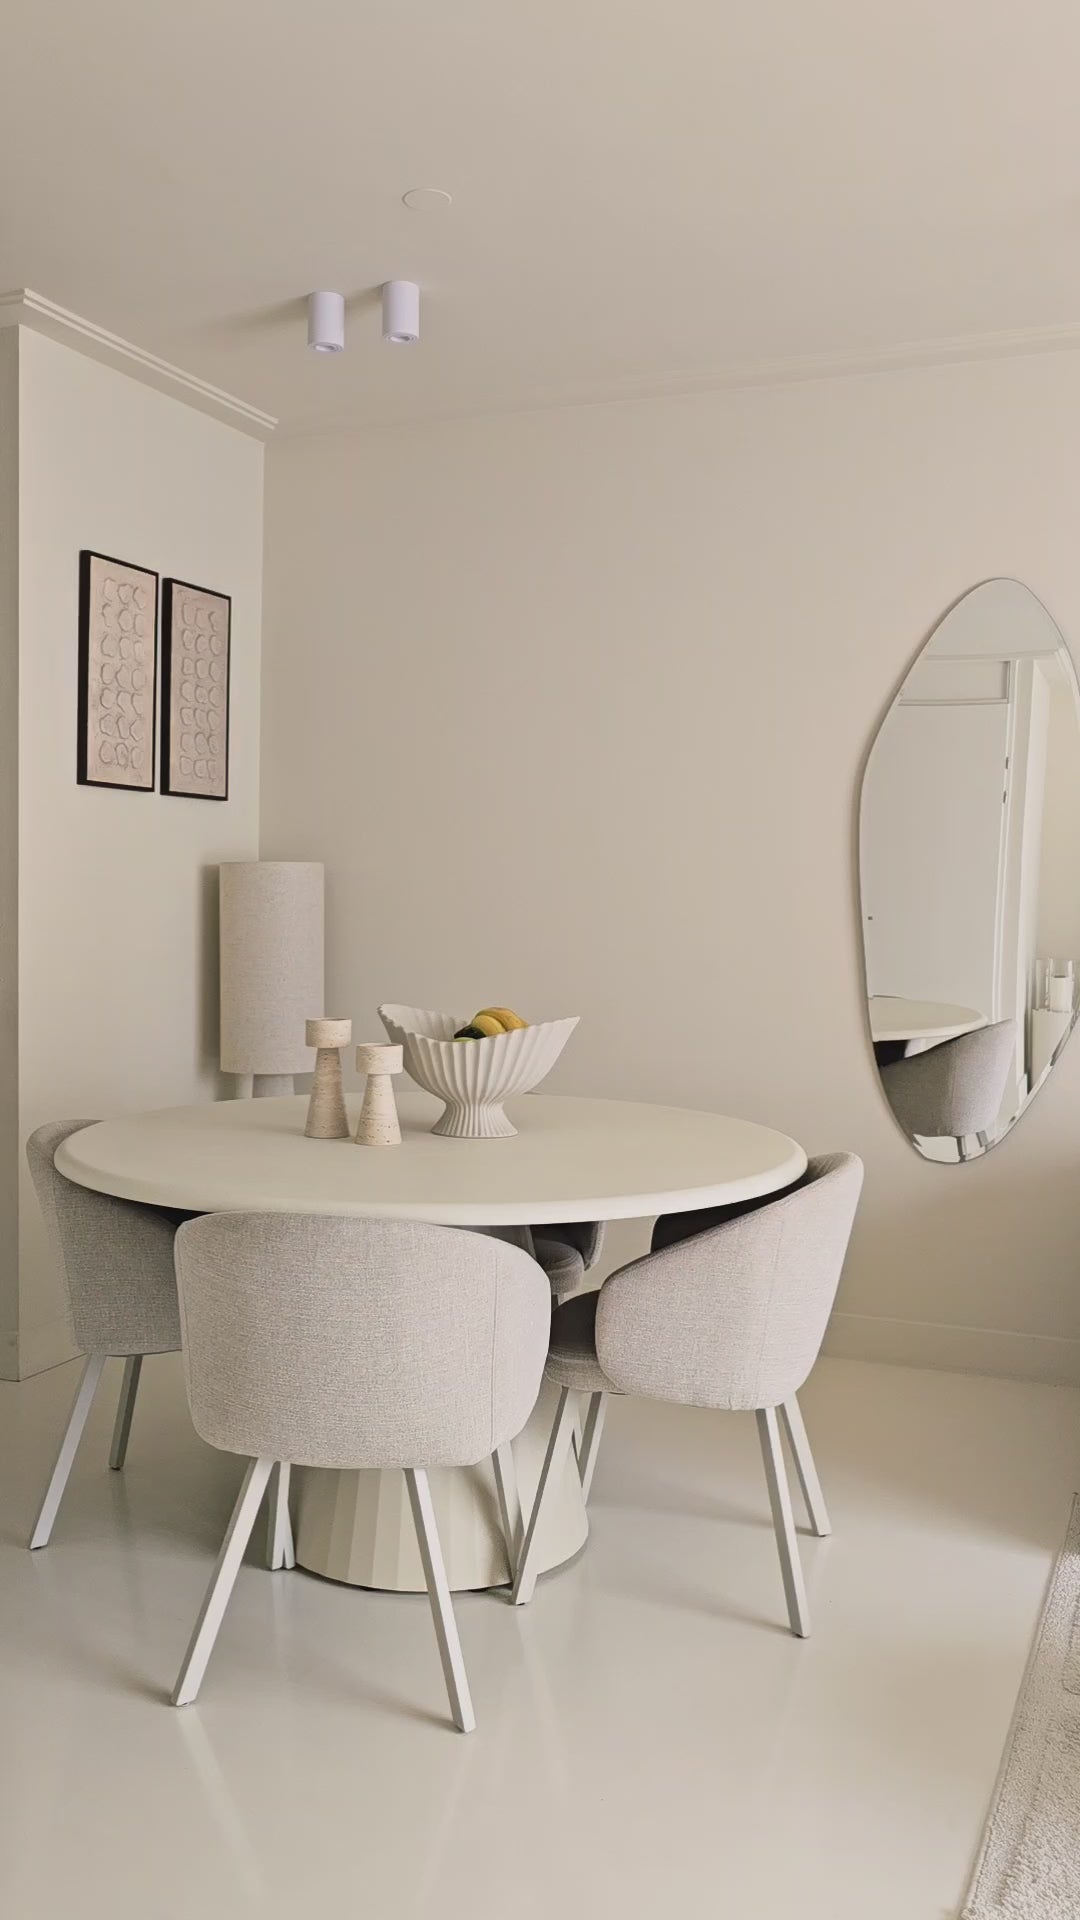
Interior design styles come and go, but the classic, timeless style always remains a paragon of elegance and refinement. Think of the grandeur of a stately mansion, where high ceilings, rich materials, and symmetrical details create a sense of tranquility and lasting value. This style isn't old-fashioned; it's a foundation of good design that exudes warmth, character, and a sense of luxury. In this guide, we'll show you how to translate the essence of a classic interior into your home and how "Classic" molding is the key to creating those chic, layered walls you've always dreamed of.
What is a Classic & Timeless Interior? More than just decoration
A classic interior is rooted in the principles of order, symmetry, and balance, inspired by Greek and Roman architecture. It's all about creating a harmonious and thoughtful space. This is achieved through the use of high-quality, natural materials, a calm and warm color palette, and architectural details like wainscoting, wall frames, and cornices. It's a style that doesn't scream for attention, but confidently displays its elegance.
The Characteristics of a Timeless Style
- Symmetry and Balance: Everything in the room, from furniture arrangement to wall decor, is often in perfect balance and mirrored.
- Architectural Details: Wainscoting (wall paneling to a certain extent), wall frames and cornices are the building blocks that provide structure and depth.
- Rich Materials: Think dark wood, marble, brass, and luxurious textiles like velvet, silk, and wool.
- Warm and Layered Color Palette: Warm, neutral tones are often used, such as cream, greige, and deeper colors like navy blue or dark green, which convey a sense of comfort and security.

The Role of Moldings: The Foundation of Classic Elegance
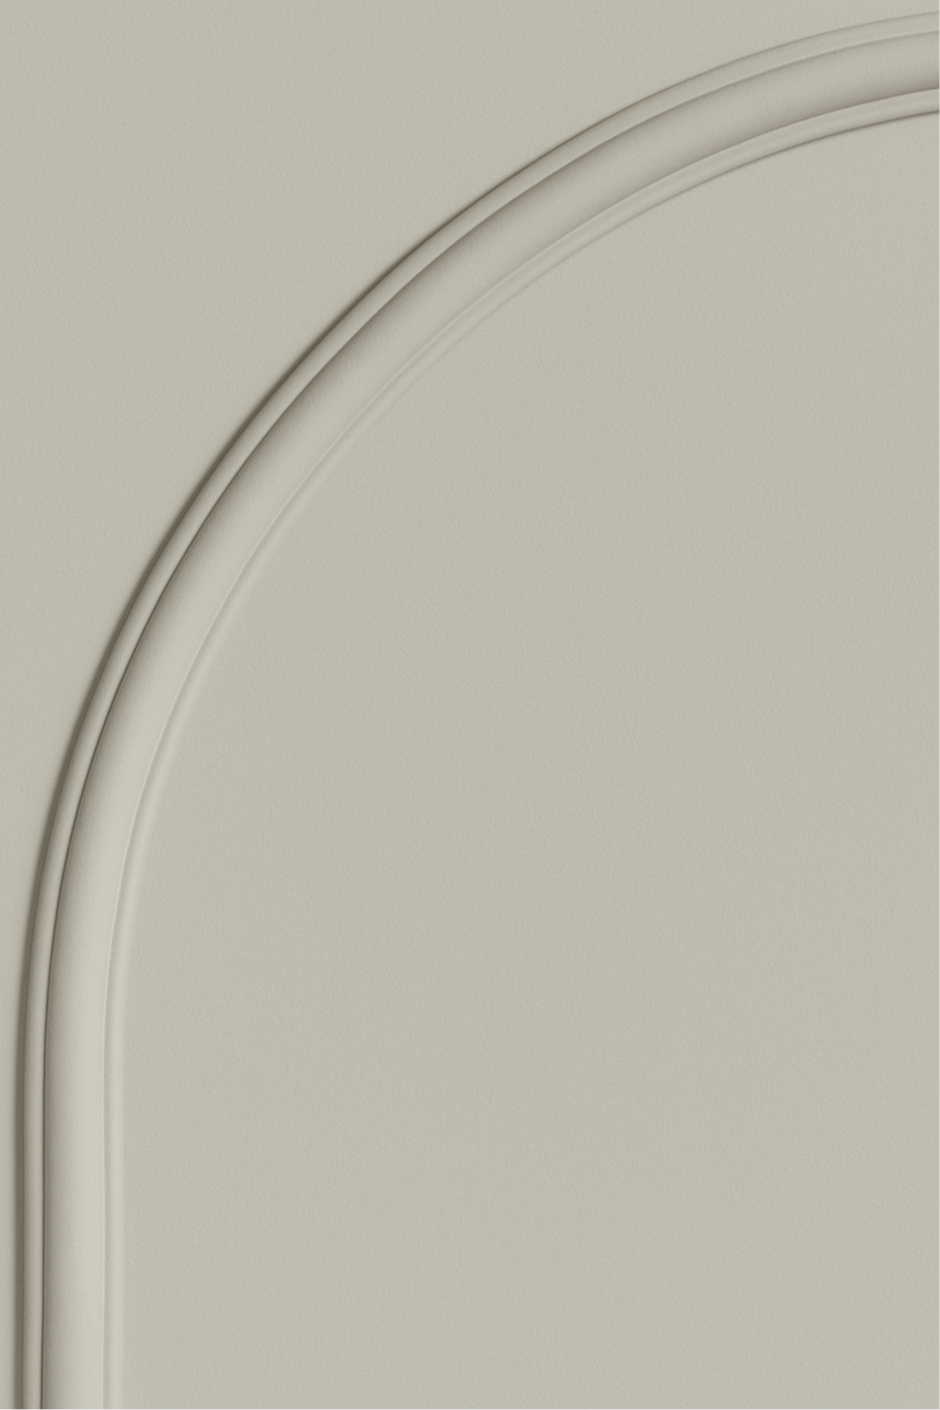
In a classic interior, moldings aren't an afterthought; they're essential. They give a flat wall the structure, rhythm, and depth that characterize this style. Traditionally, this was the work of expensive craftsmen, involving intricate sawing and carpentry. Velida now makes this timeless elegance accessible to everyone.
With our Flexlijst Classic, you can easily create the most iconic elements in this style. Create stylish wall frames in the living room, chic wainscoting in the hallway, or instantly add character to a dull doorframe. Because the frames are self-adhesive and easy to cut to size, you can easily create shapes that look custom-made.
Your Step-by-Step Plan: Create a Classic Wainscoting
One of the most effective ways to create a classic atmosphere is with wainscoting. Follow these steps for a beautiful result:
- Determine the Height: A good rule of thumb is to place the wainscoting approximately one-third of the total wall height (often between 80 and 120 cm). Mark this line with a spirit level.
- Place the Horizontal Lines: Glue the flex strip along the top line and directly above the baseboard. This forms the frame of your wainscoting.
- Create the Frames: Measure the space between the horizontal frames and divide them into equal vertical frames. Keep an equal distance (e.g., 10-15 cm) between each frame for a symmetrical effect. Cut and glue the vertical pieces.
- Painter: For the most authentic look, paint the baseboards, wainscoting, and the wall between them in the same color, often a (semi-gloss) white or another light, neutral shade. The wall above can be painted in a contrasting, richer color.

Frequently Asked Questions (FAQ)
1. Isn't a classic interior too busy for a modern home?
No, the modern interpretation of classic is often more subdued. By choosing sleek profiles and a subdued color palette, you create a "modern classic" style that fits perfectly in new-build homes.
2. Should I always choose white wainscoting?
Absolutely not! While white is traditional, painting the wainscoting a deep color, like dark green or charcoal, can be very chic. Interior design is a personal matter, so let that personality shine through.
3. How do I make the corners of the frames neat?
For good corners, you can use skirting board shears to cut the moldings at a 45-degree angle. Because Flex moldings are made of soft material, this is much easier than with wood or MDF. Be sure to cut the moldings straight, otherwise the corners may not fit together properly.