How to create a decorative moulding design with AI?
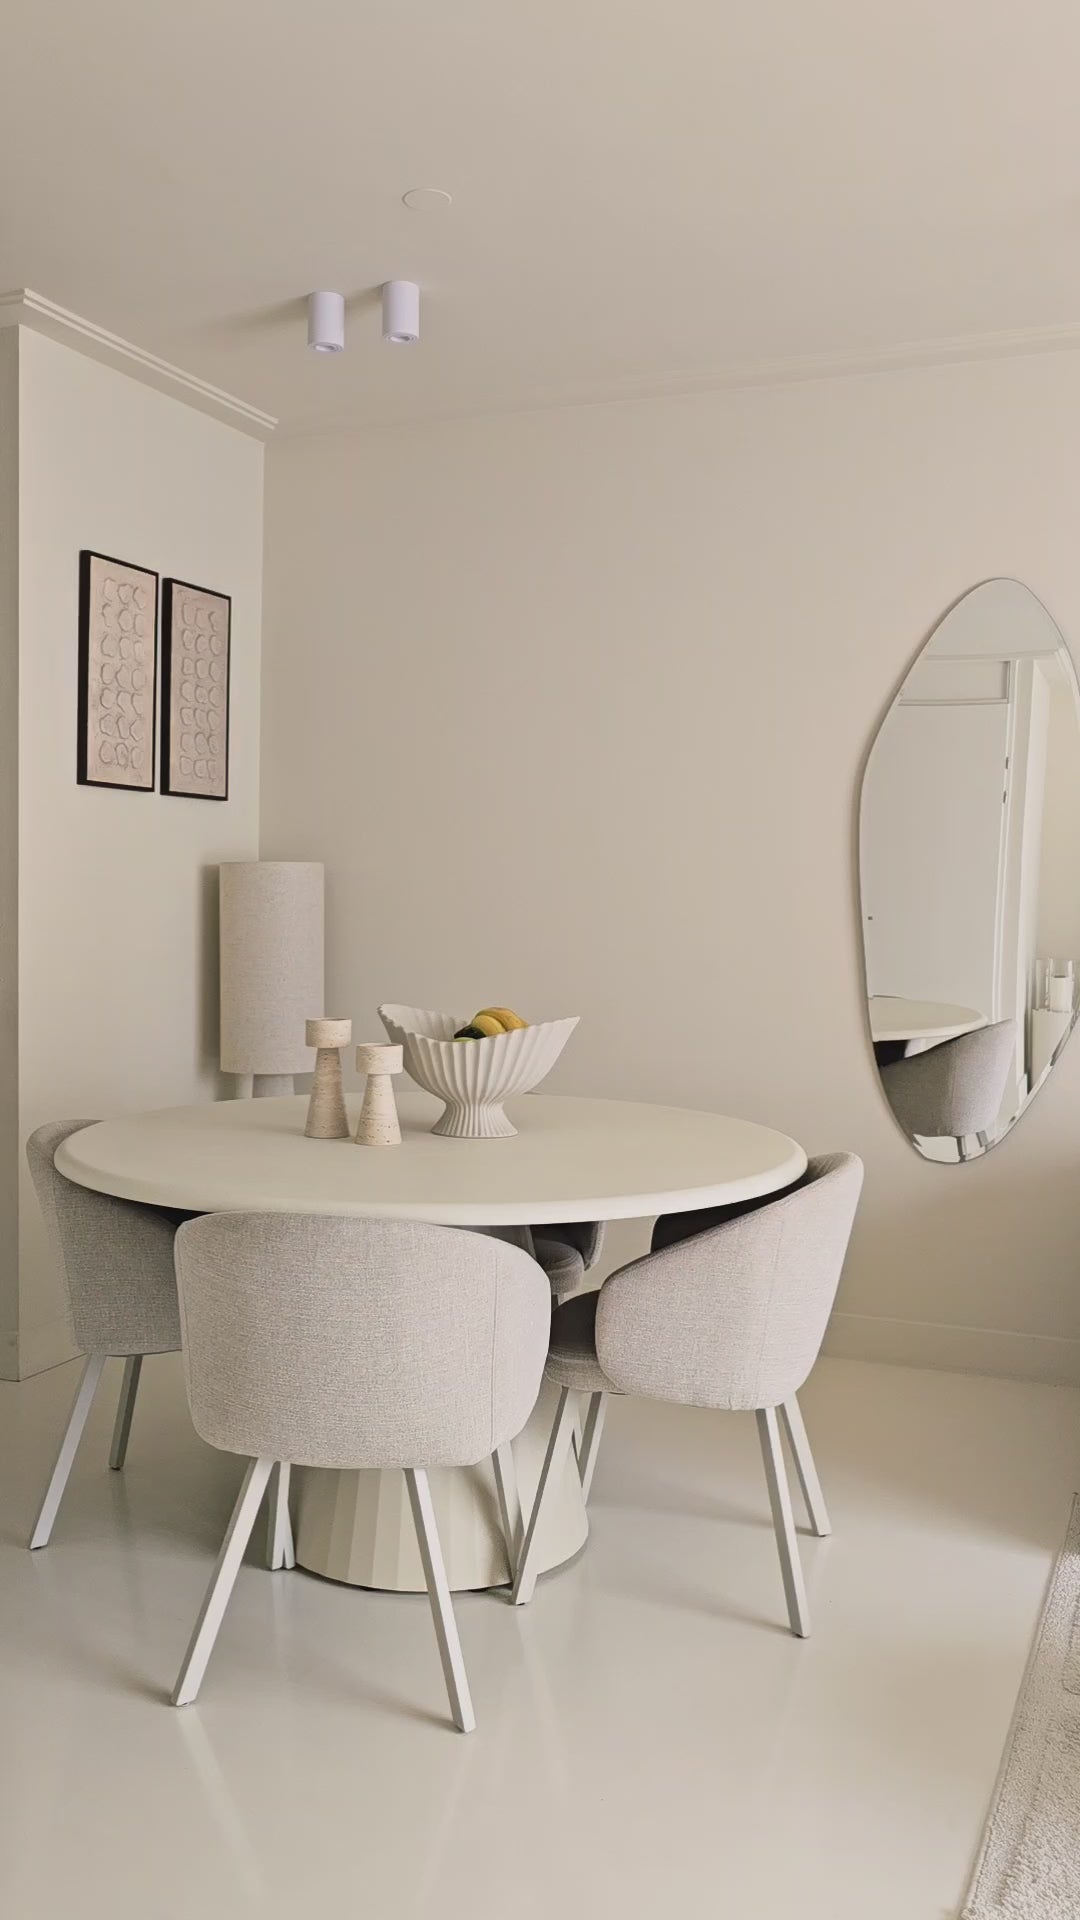
Want to add decorative mouldings to your wall, but you're not sure where to start? Thanks to AI you can easily generate a visual impression of your wall with mouldings and instantly work out how many metres you'll need. In this guide we walk you through it step by step.
Decide on the style, shape and placement
Before you start, it helps to have a rough idea of what you want:
- Straight frames or arches?
- How many frames or arches?
- Which wall(s) do you want to apply mouldings to?
Got a picture in your head? Then choose a profile that fits your style. Velida currently offers four models:
- Nova - sleek and modern
- Luna - subtle and Japandi
- Classic - ornate and classic
- Crown - symmetrical and timeless
Tip: for a Japandi interior we recommend Luna, and for a classic feel go with Classic.
Time to get started
Take a photo of the wall where you'd like to apply the mouldings. Make sure there's plenty of daylight and shoot the photo straight on. Move any distracting items like plants or furniture out of the way.
Sketch your design
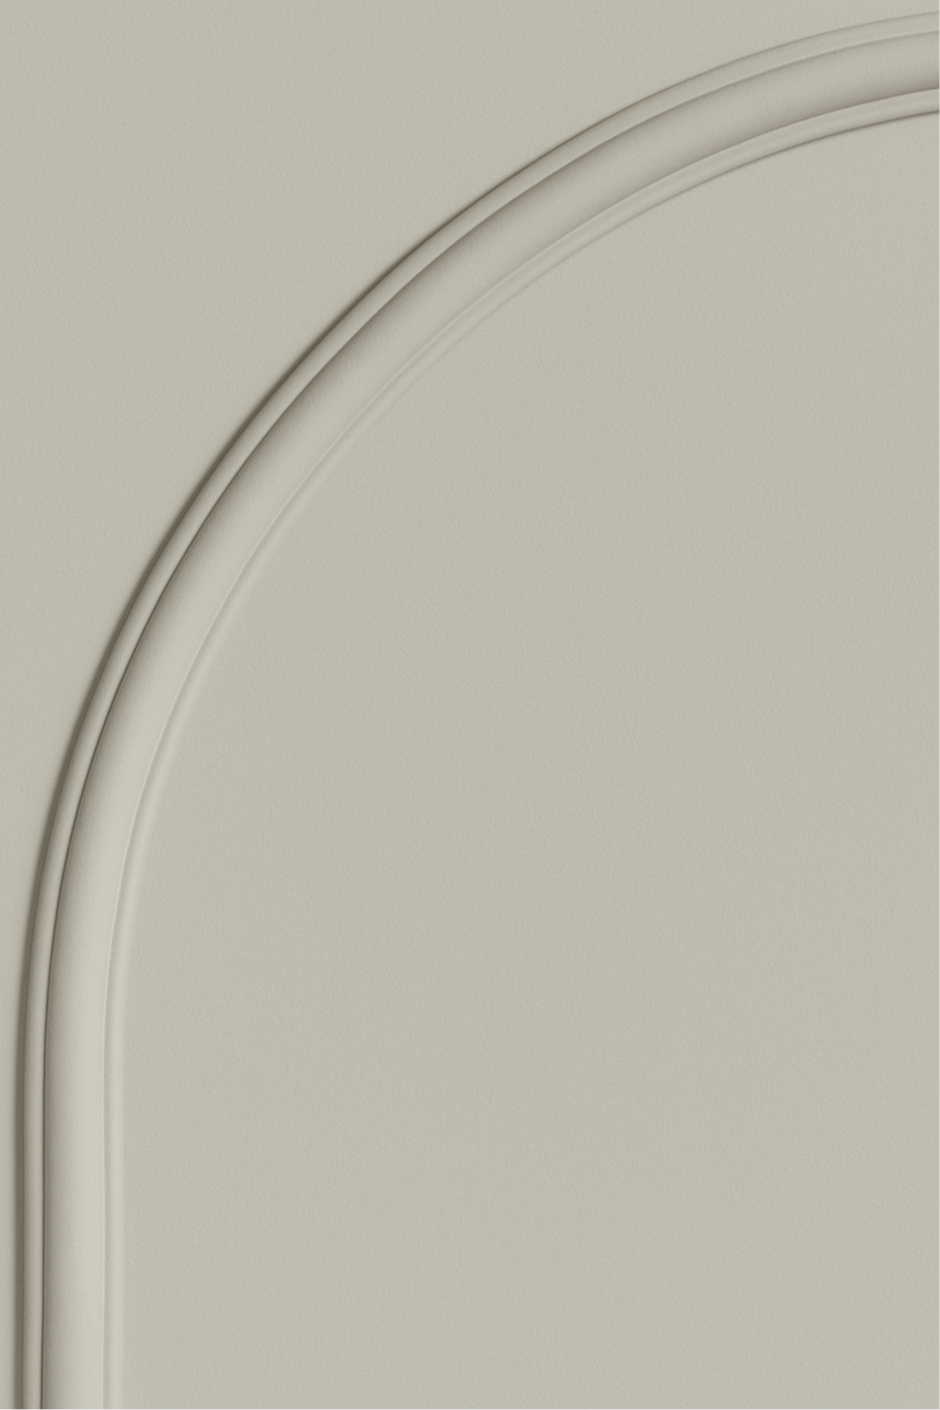
Upload the photo into a photo-editing programme (such as Paint, Canva or your phone's photo app) and mark the spots where you want the mouldings to appear with a red line.
For example:

Visualise with AI
Once your photo with red lines is ready, you can use ChatGPT to generate an impression.
Upload your image and use this prompt:
"I'd like to visualise decorative mouldings in this interior. Please replace the red lines in this image with mouldings so I can get an idea of how mouldings would look in this space."
The AI will then produce an image. Our example looks like this:

The AI generates an example image. A few things to keep in mind:
- The result isn't 100% accurate
- The profile or details may differ
- Even so, it gives you a quick and realistic impression
Happy with the look? Time to measure up
Now you've got a good idea of how mouldings will look in your interior, it's time to pick a profile that suits you and work out exactly what dimensions your design needs, so you can figure out how many metres of mouldings to order.
We've written a detailed guide for that step on this page:
How many metres of decorative mouldings do I need?
Don't forget to factor in a small margin for cutting waste (around 10%).
Order your mouldings
Now you've got a clear idea of how the design will look in your interior and know how many metres you need, you can go ahead and order your mouldings. All Velida Flex Mouldings are:
- 6 metres per roll
- Self-adhesive
- Cuttable to size
- Paintable
You can see on each product how many rolls you'll need. You can also add accessories like a mitre cutter or painter's tape if you want.