


Velida Flex Classic
- In stock, ready to ship
This product is delivered in rolls of 6 meters.
What are you making?
Choose your project type and calculate the required materials directly.
💰 Volume Discount
| No. of rolls | Price per roll | You save |
|---|---|---|
| 1 roll | €79,95 | – |
| 2 rolls Popular | €75,95 | €8,00 off |
| 3 rolls | €72,95 | €21,00 off |
| 4 rolls | €69,95 | €40,00 off |
| 5 rolls | €66,95 | €65,00 off |
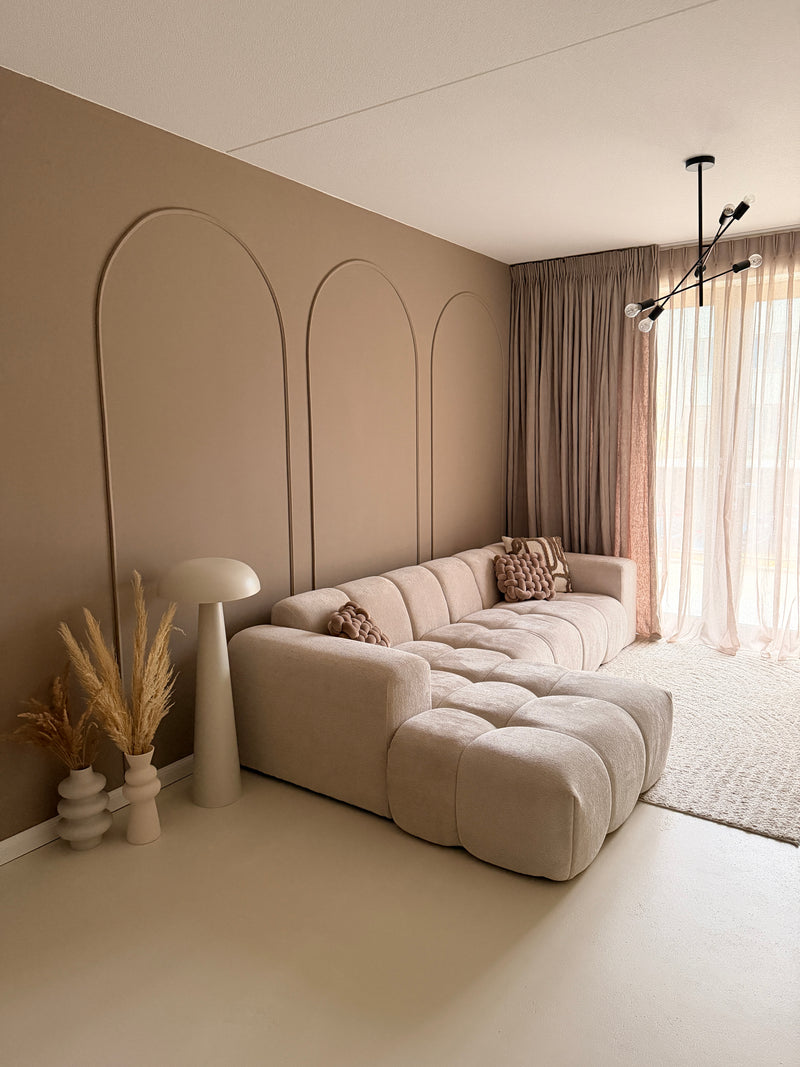
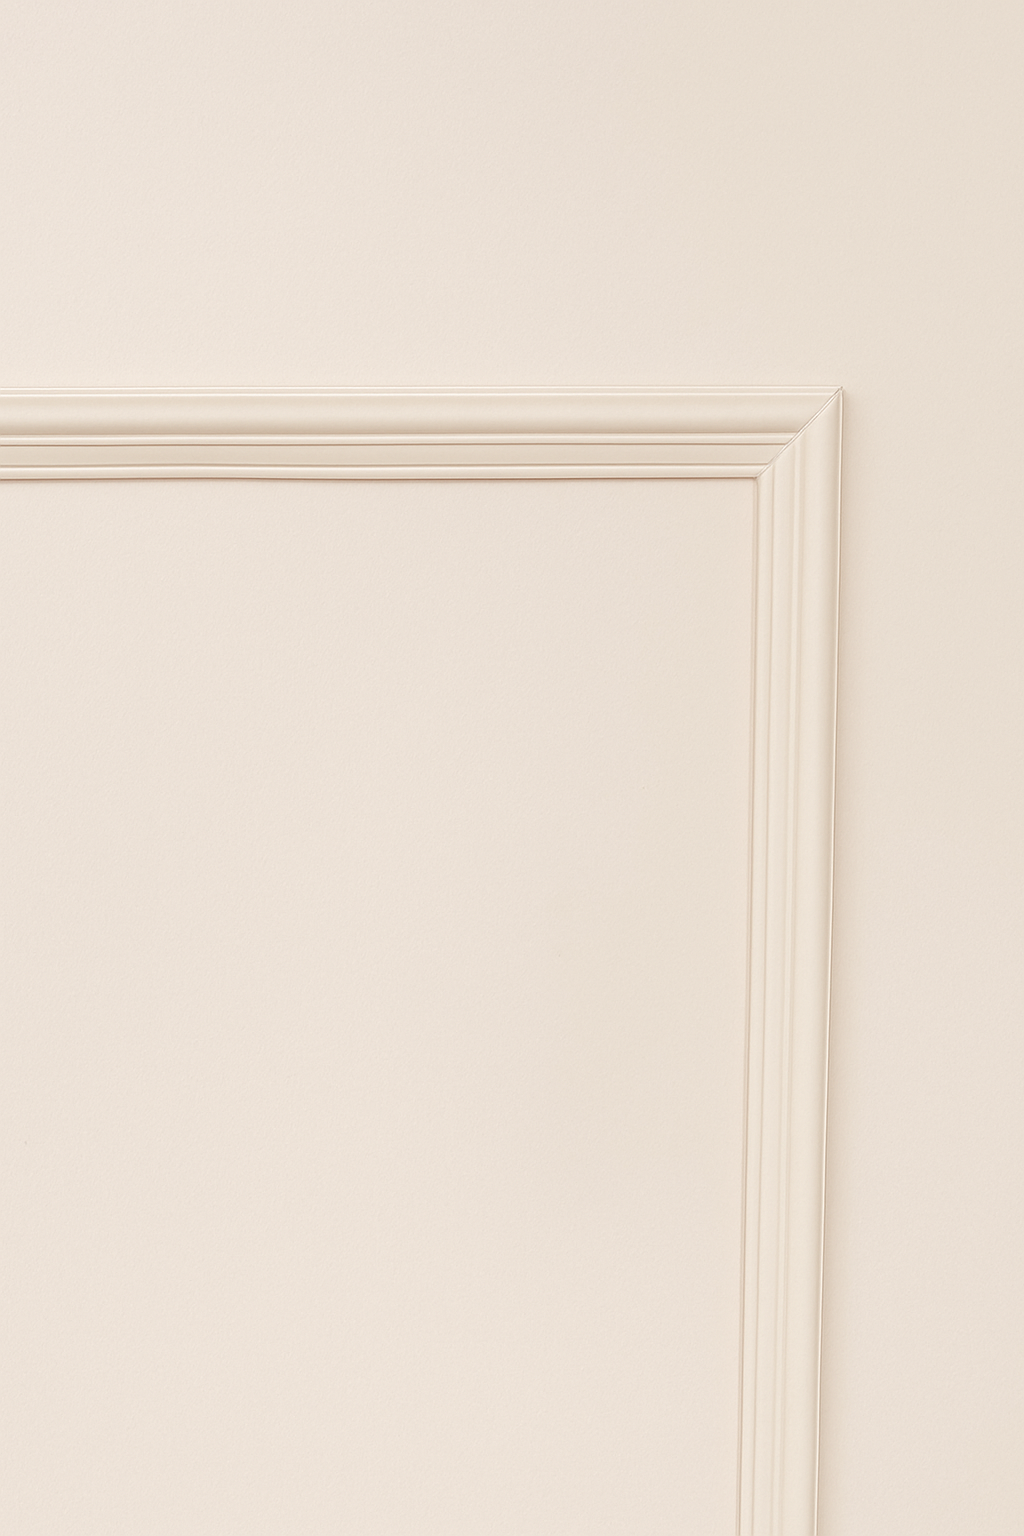
Bring luxury and elegance to your interior with the Velida Flex Classic.
This versatile flexible molding is specially designed to give walls, ceilings and furniture a refined look. Whether you want to create straight lines or graceful curves, this bendable molding adapts seamlessly to any shape.
Perfect for any interior style
Be inspired by the calm simplicity of Japandi style, the flowing lines of Organic Modern, or the sleek elegance of Hotel Chique. Velida Flex Classic offers endless possibilities to express your personal style. Use these wall and ceiling moldings to create unique accents that transform your space.
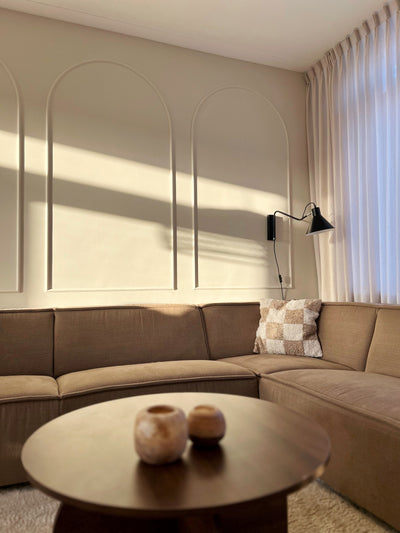
Easy to customize and paint
Made of matte material, the Velida Flex Classic offers excellent paint coverage. This allows you to easily paint this decorative frame in any colour you want, so that it fits perfectly with your interior.
Make your interior unique
With the Velida Flex Classic you create a stylish and timeless design. Order now and discover the versatility of this high-quality flexible molding!
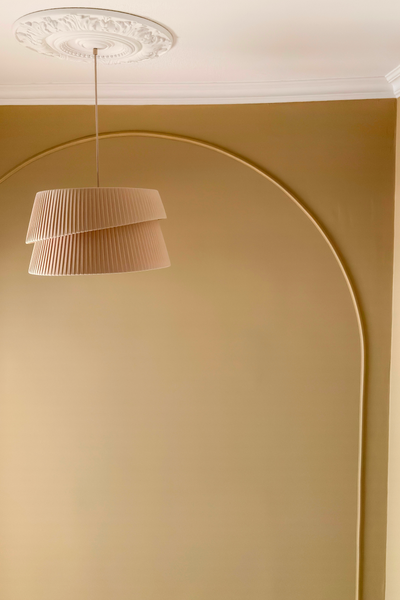
- Flexible material for easy application and shaping
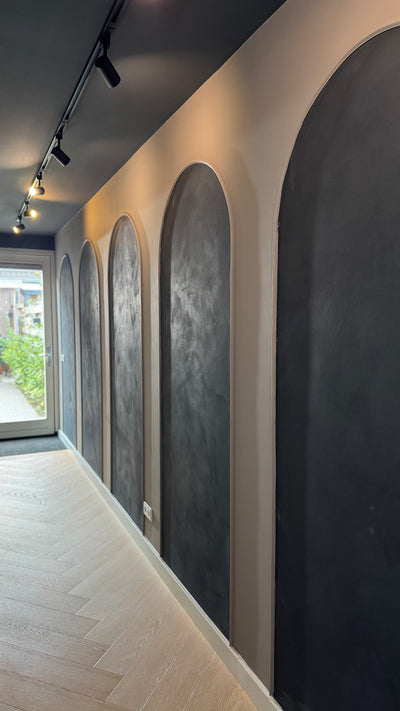
- Ideal for creating elegant arches and accents
- Suitable for various DIY projects and interior styles.
- Easy to combine with other finishing materials for a custom look
- Easy to install based on your desired dimensions
- 2 centimeters wide
- 1 centimeter thick
- 6 meters long