Velida Flex Luna
- In stock, ready to ship
- Backordered, shipping soon
- Estimated delivery: 5-7 working days
This product is delivered in rolls of 6 meters.
What are you making?
Choose your project type and calculate the required materials directly.
What is cutting loss?
We recommend adding 10% extra length as cutting loss.
When cutting Flex frames to size, it may happen that sections are not cut straight and do not fit together neatly, or that incorrect lengths are cut, making sections unusable.
Note: Flexible moldings are packaged rolled. Therefore, the end of the roll may curl slightly. This is normal and is considered "cutting loss." Unroll the molding briefly before installation to allow the material to relax.
With an extra 10% margin, you can be sure you won't run out of supplies during installation and that you can complete your project in one go without reordering.
💰 Volume Discount
| No. of rolls | Price per roll | Total | You save |
|---|---|---|---|
| 1 roll | €79,95 | €79,95 | – |
| 2 rolls Populair | €75,95 | €151,90 | €8,00 off |
| 3 rolls | €72,95 | €218,85 | €21,00 off |
| 4 rolls | €69,95 | €279,80 | €40,00 off |
| 5 rolls | €66,95 | €334,75 | €65,00 off |
✓ Discounts are automatically applied in your cart
Be inspired by the soft, flowing shapes of the Velida Flex Luna.
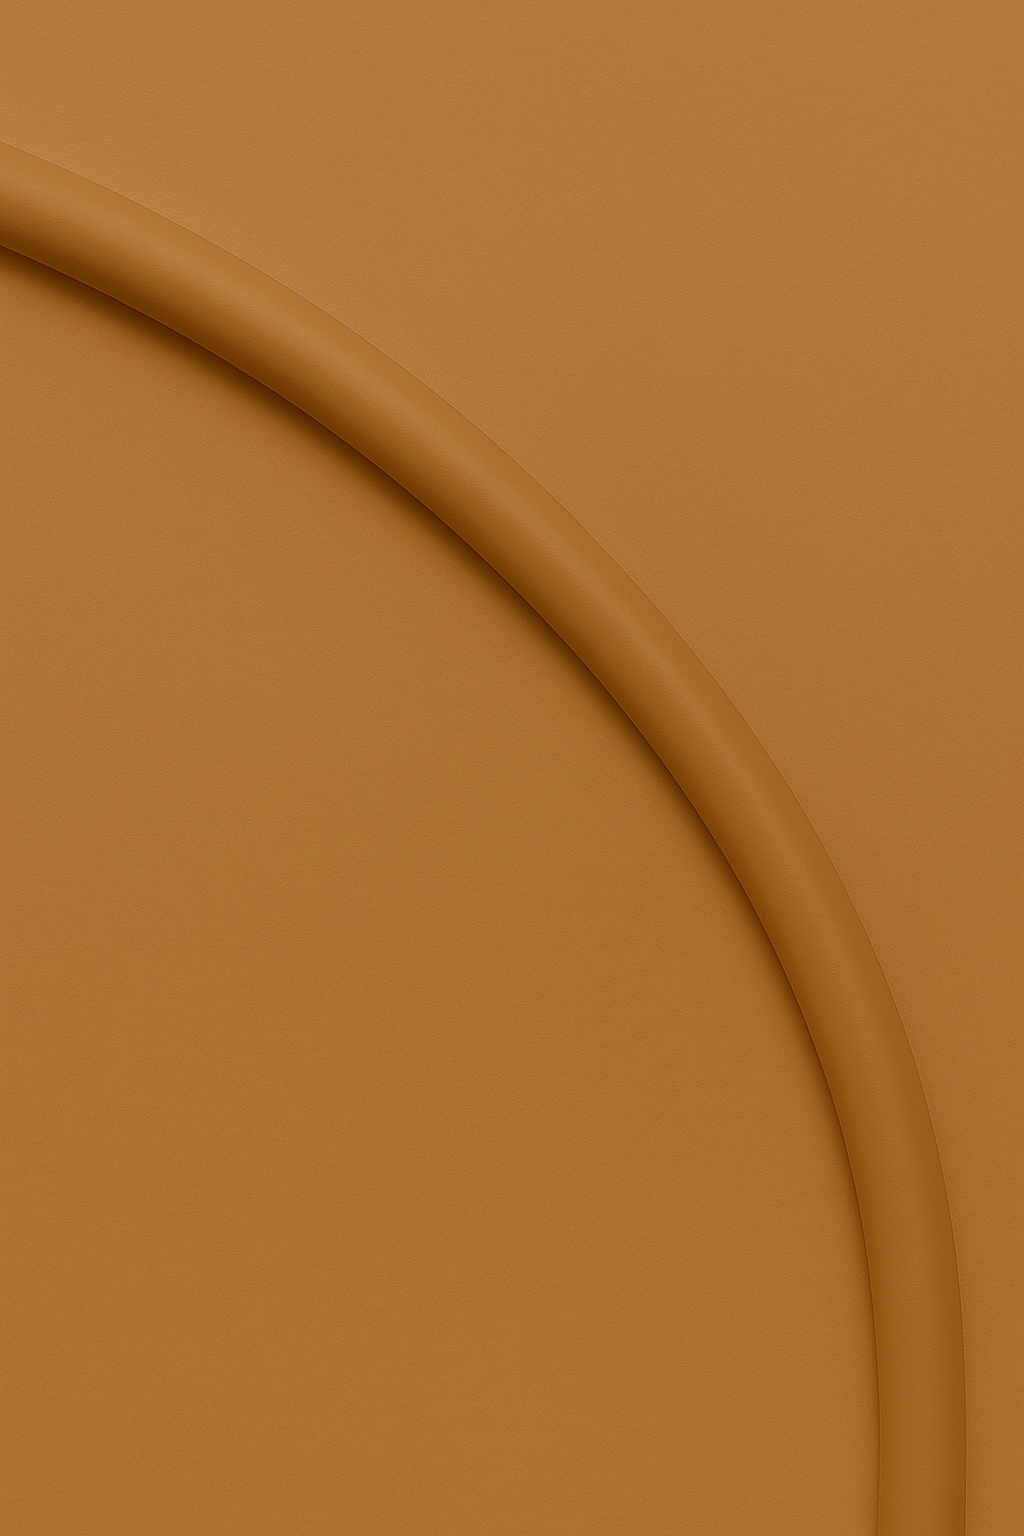
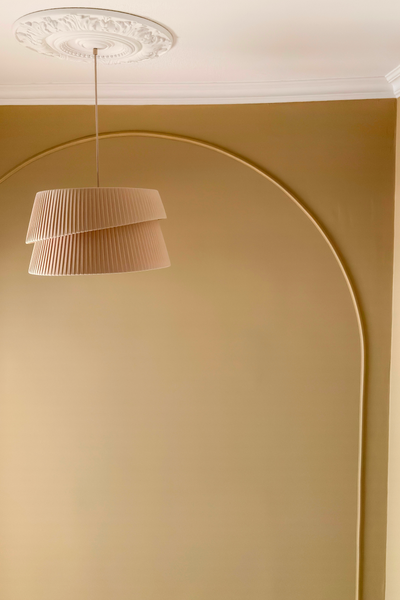
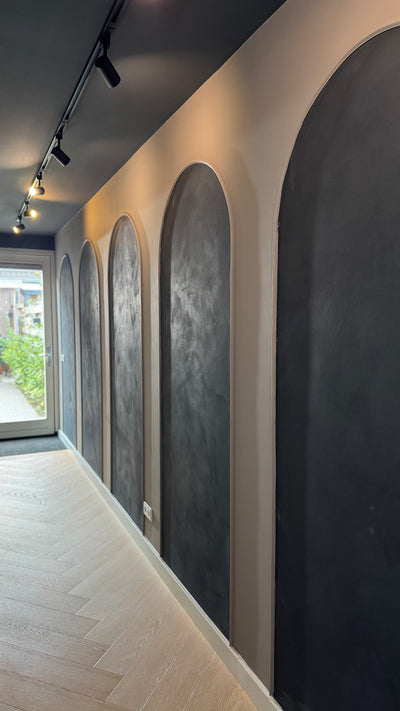
This flexible molding combines functionality with a refined look. Its flexibility makes it ideal for finishing round walls, arches and flowing lines in your interior.
For a soothing and elegant design
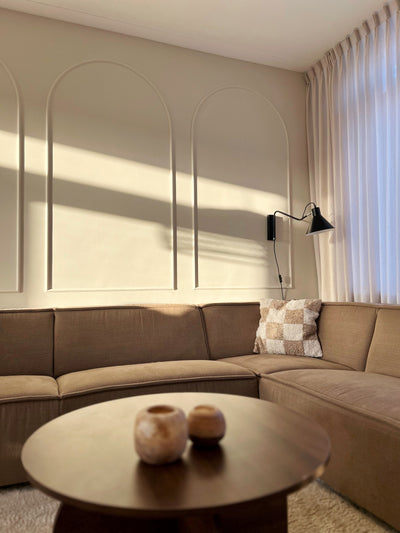
The Velida Flex Luna is perfect for the calm and simplicity of Japandi style, the organic shapes of Organic Modern, and the sophistication of Hotel Chique. Use this flexible molding on walls, ceilings, or furniture to create a calming and stylish atmosphere.
Easy to personalize
The high-quality, matt material provides an excellent base for paint, allowing you to finish this decorative frame in any colour. This allows you to perfectly match the Velida Flex Luna to your interior style.
Transform your interior with natural elegance
Experience the beauty and versatility of the Velida Flex Luna. Order now and create a timeless design with this unique decorative molding for walls.
- Flexible material for easy application and shaping
- Ideal for creating elegant arches and accents
- Suitable for various DIY projects and interior styles.
- Easy to combine with other finishing materials for a custom look
- Easy to install based on your desired dimensions
- 2 centimeters wide
- 1 centimeter thick
- 6 meters long


